

One year ago: Vegetable Puffs
Print recipe from here
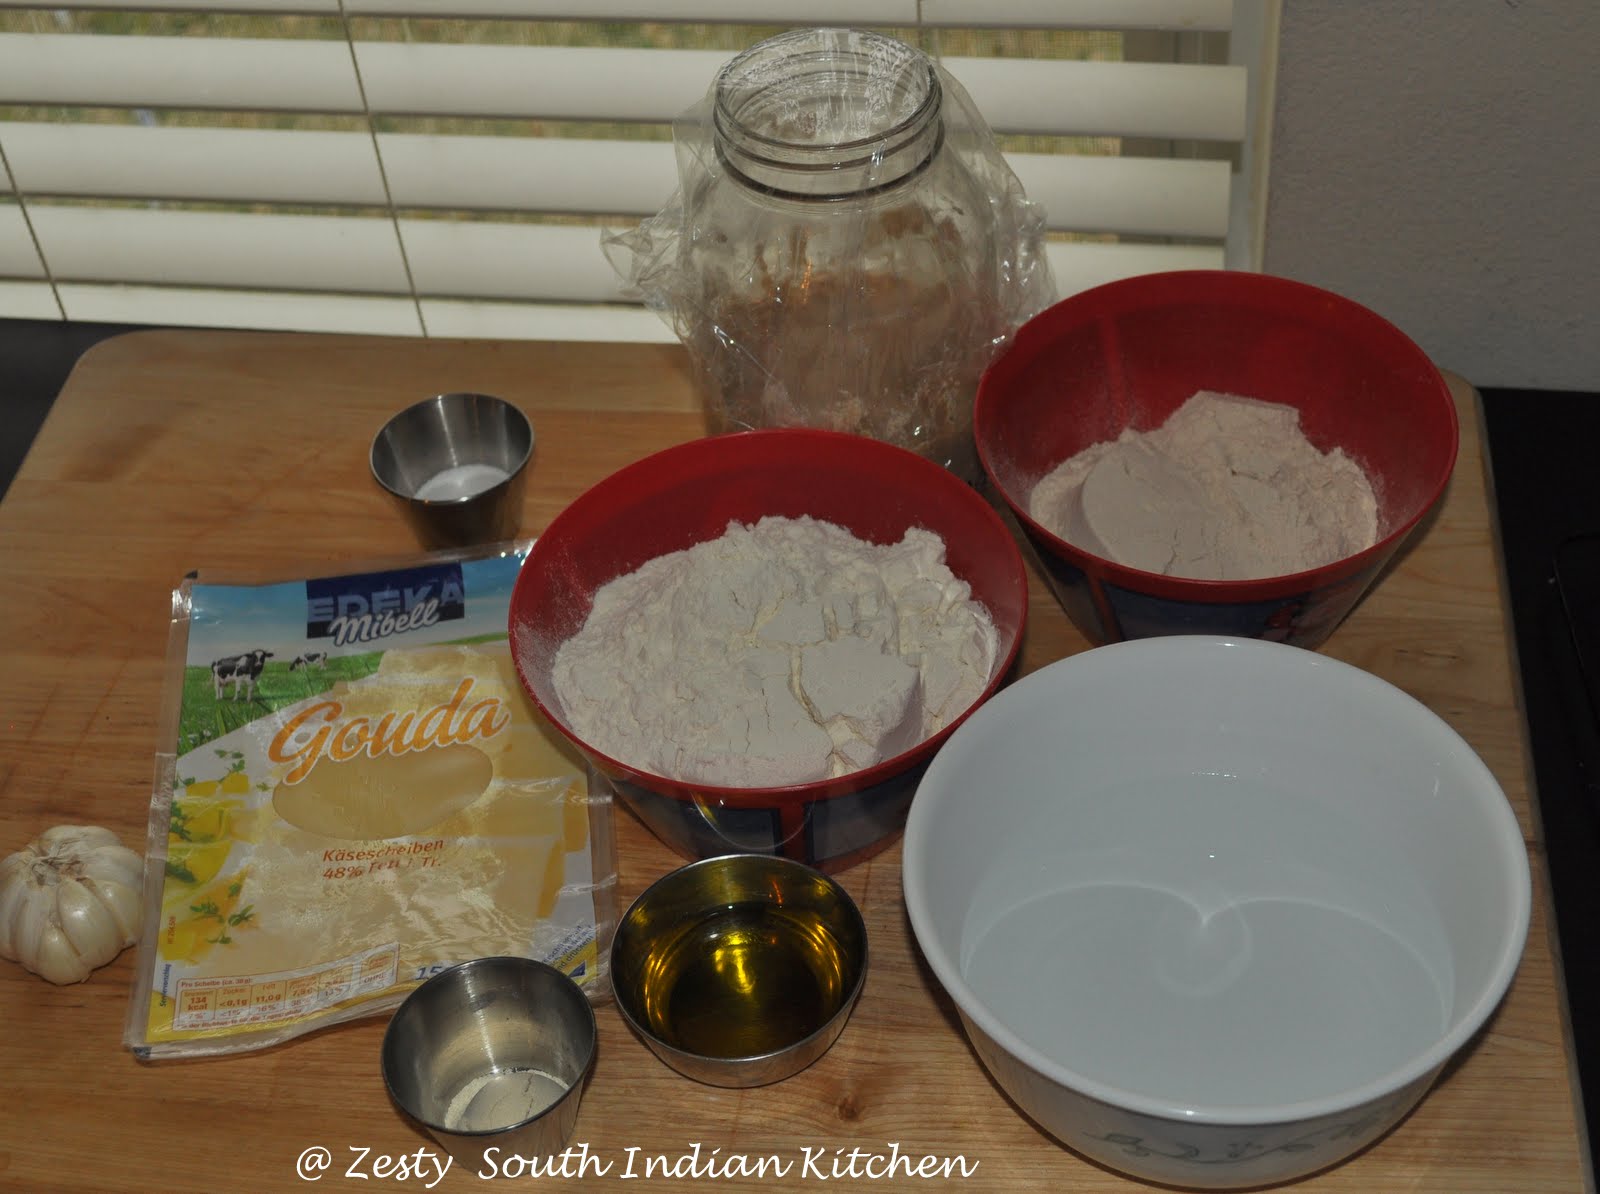
What you need

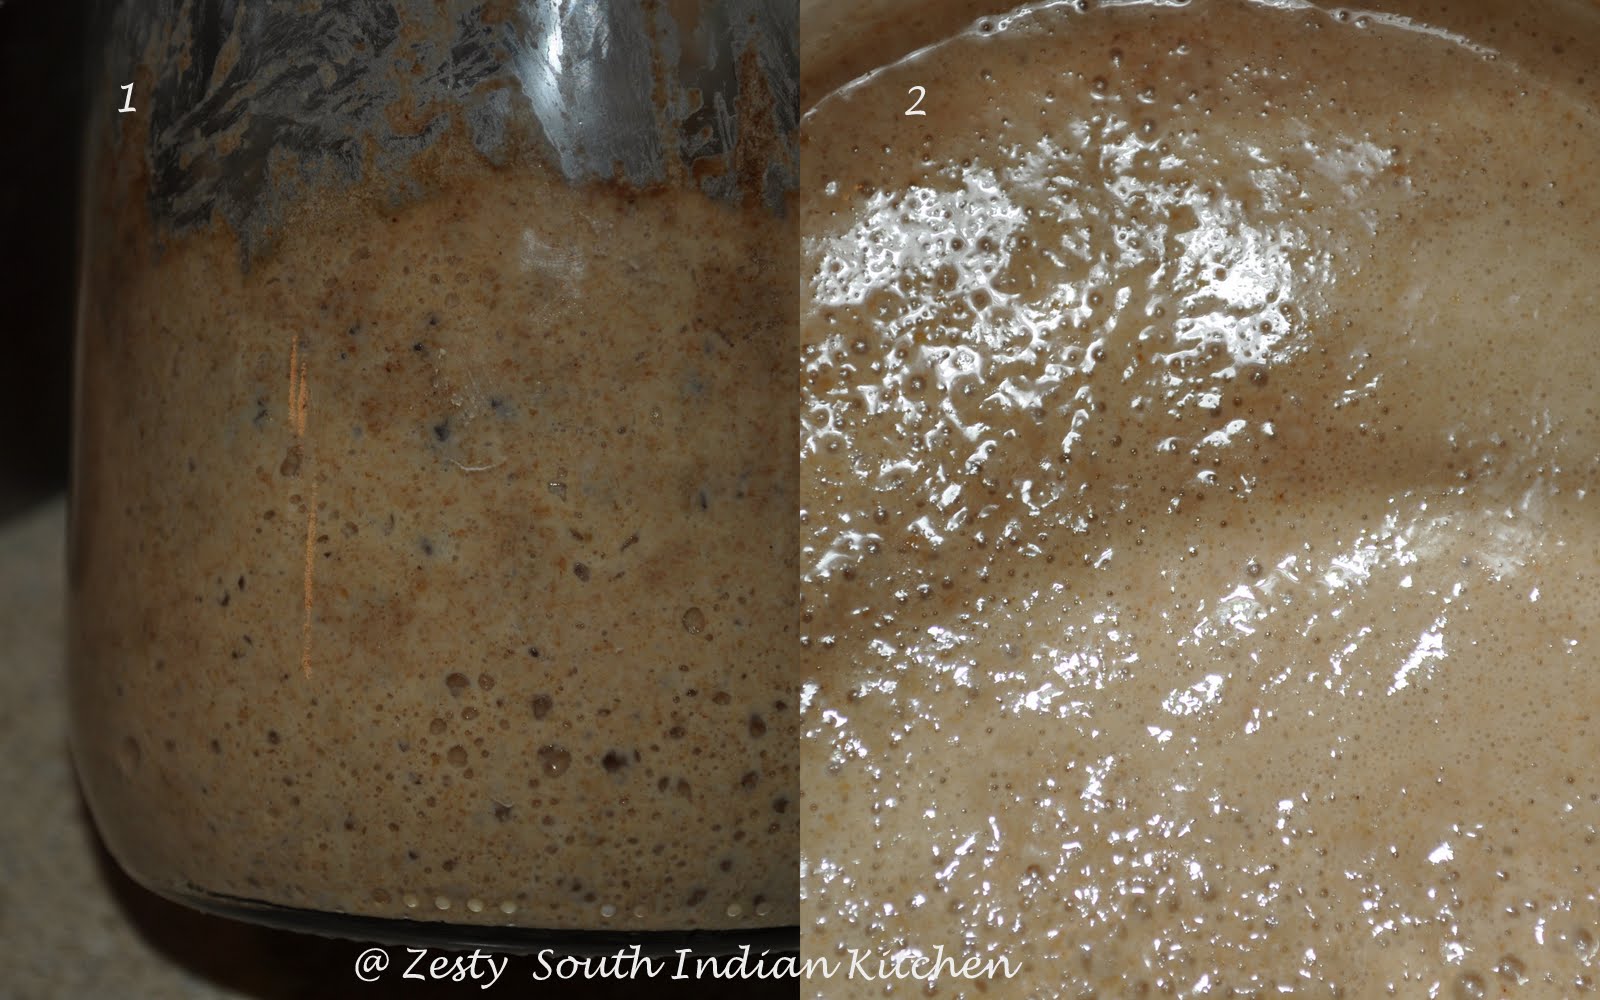
Sourdough starter
Water: 50g
Rye flour: 15g (I used organic rye flour)
Whole wheat flour: 35 g (I used unbleached whole wheat flour)
For garlic bread
Leavain
100% hydration sourdough starter: 14g mature
Water: 31 g
Rye flour: 15g
Whole wheat flour: 55g
For roasted garlic puree
Garlic head: 1 ( about 12 cloves)/36g
Extra virgin olive oil: 2 tablespoon/18g
Salt : ¼ teaspoon
Final dough
Whole white wheat flour: 163g/ 1 cup
Bread flour: 313g/ 2 cup
Warm water: 271g/1 ¼ cup
Salt: 3 teaspoon/ 12 g
Vital gluten: ½ tablespoon /6g
All of the levain
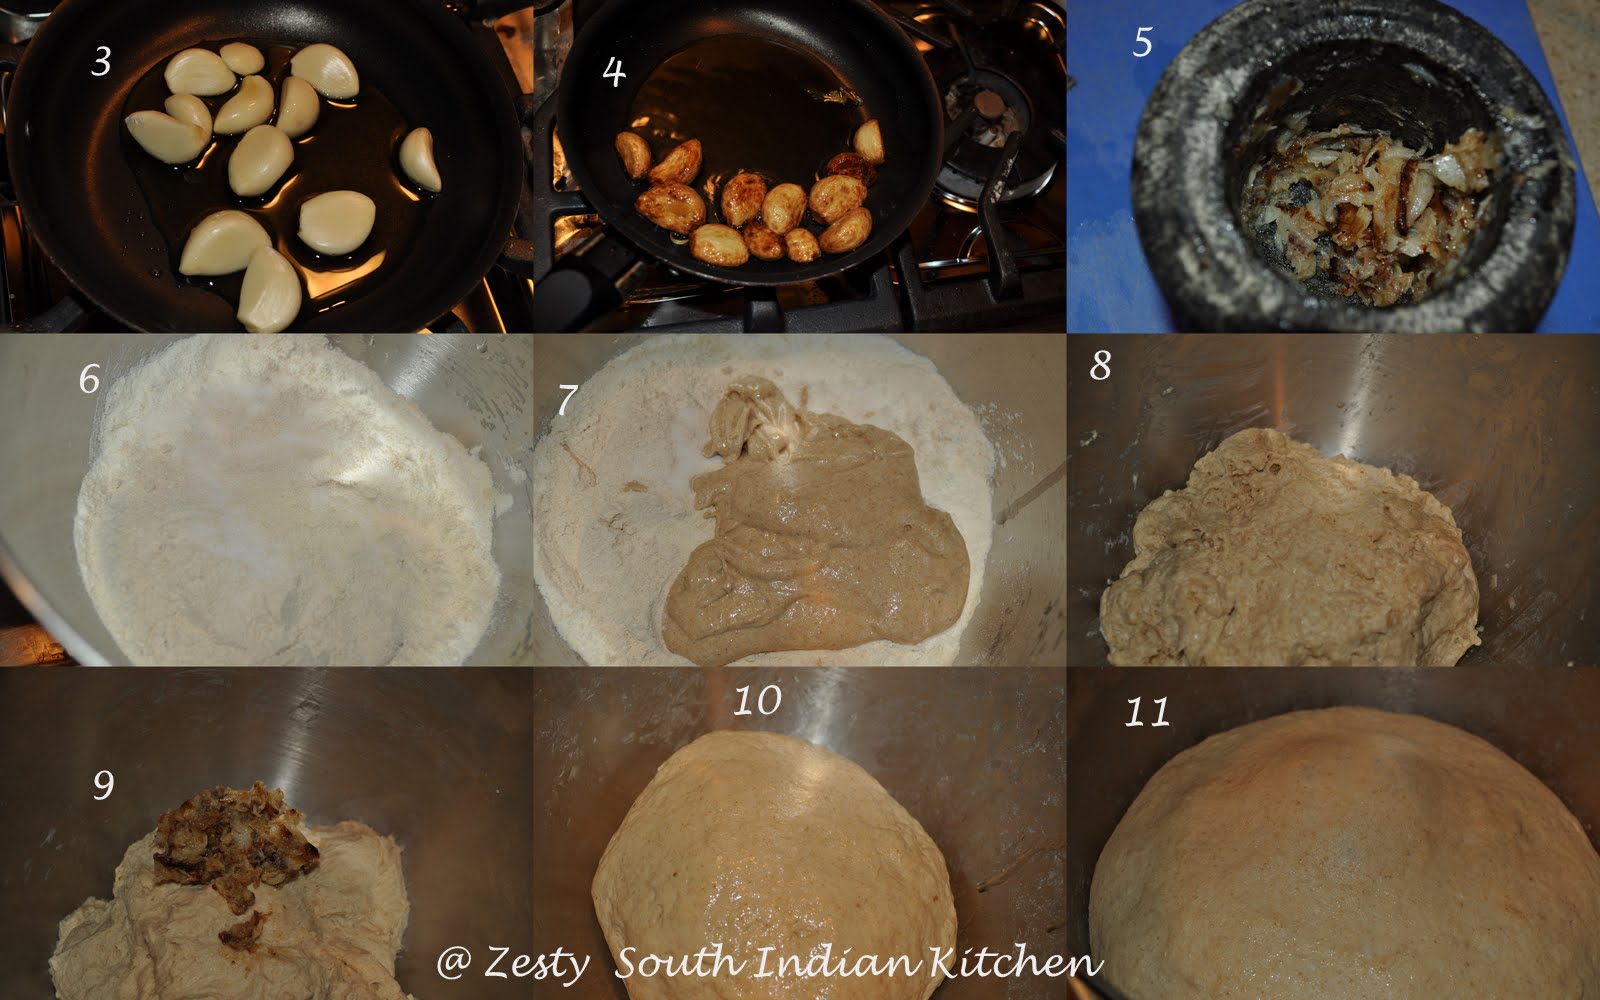
How I made
For starter
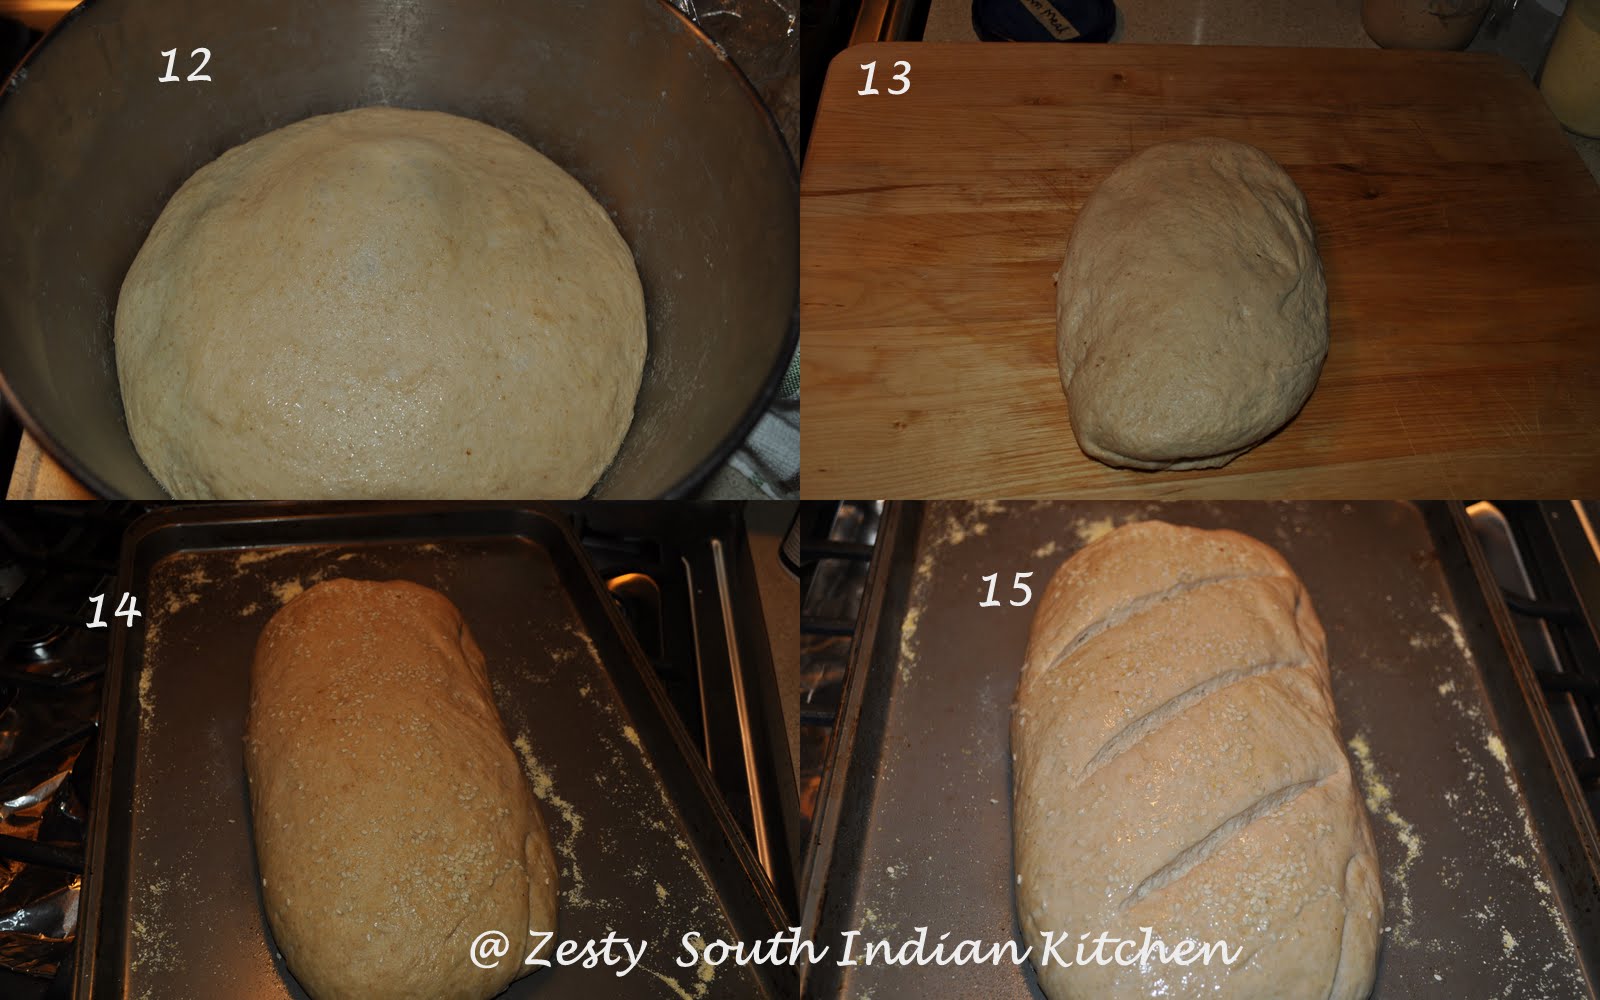
Preparation time: For levain: 8 hours, preparation of dough; 25 minutes, first fermentation: 6 hours, second proof; 2 hours, baking; 35-40 minutes.
Yield: 1 loaf
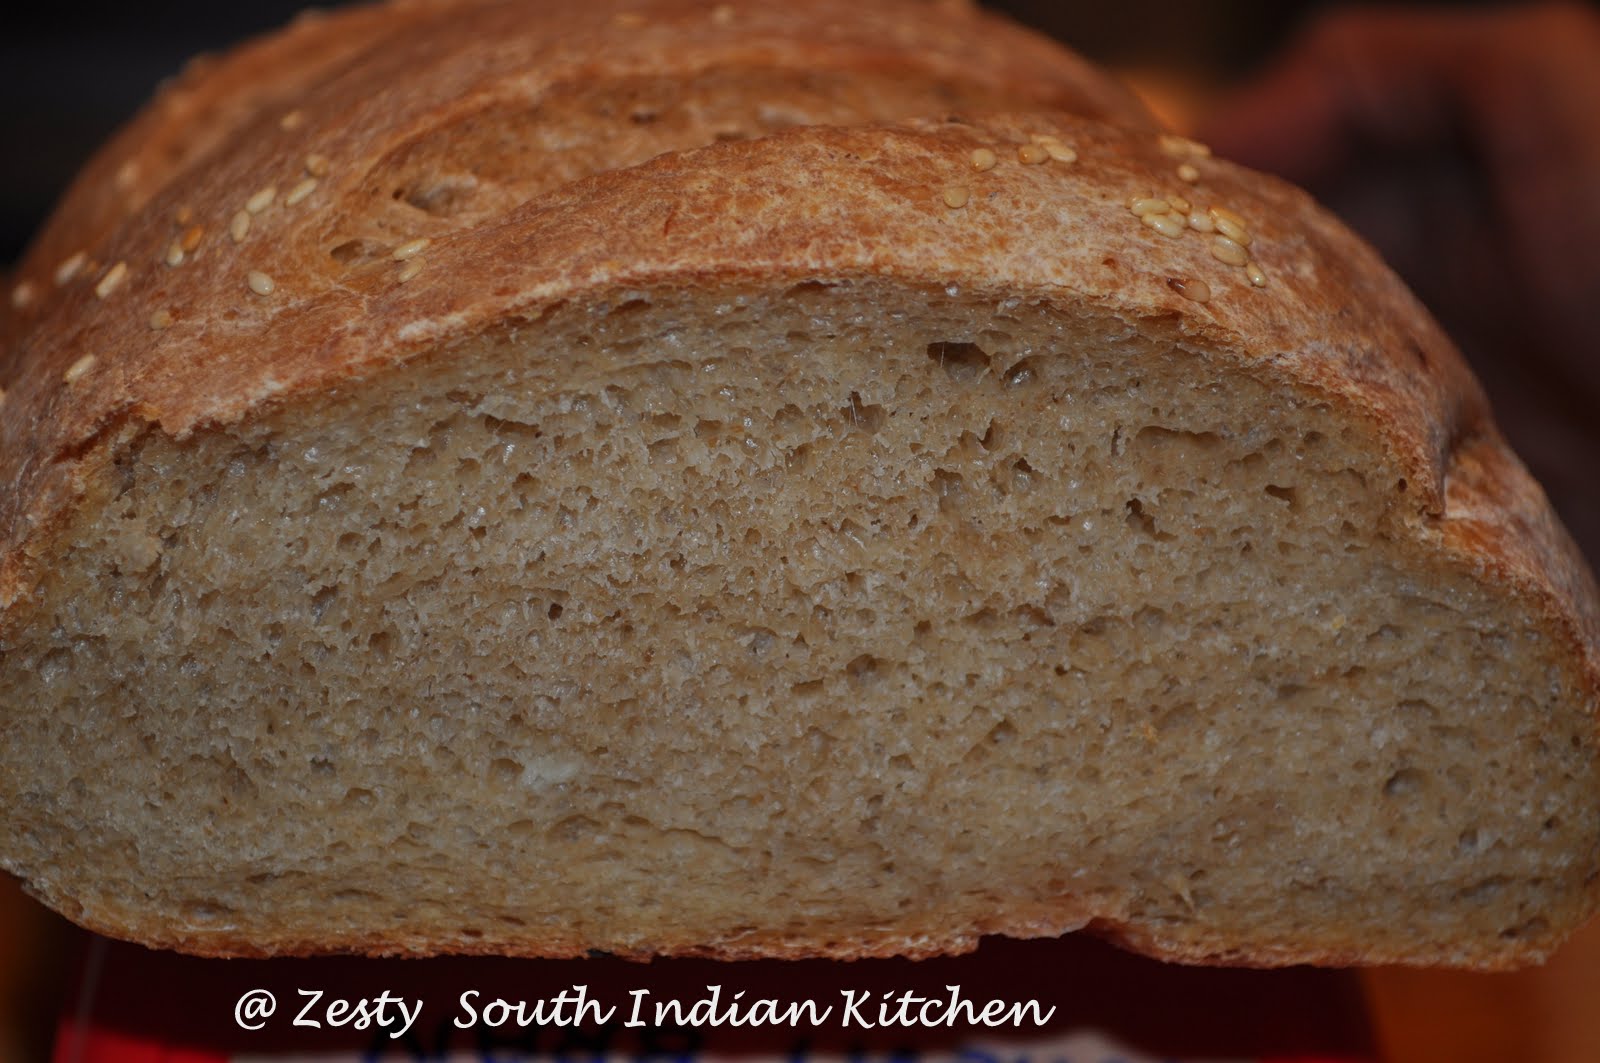
Verdict: Yummy
Will you make it again: Yes I will.
Inspiration of this bread came from
Sourdough companion
Della Fattoria’s Rustic Roasted Garlic Bread, from the book of Artisan baking by Maggie Glezer.
Susan's wild yeast
Starting sourdough 101 tutorial
Sending this beautiful bread to Yeast spotting
Bread baking day 37: Bread with preferment/sponge hosted by champa of versatile kitchen originally started by Zorra of Kochtopf
and 

This is Swathi ( Dr. Ambujom Saraswathy Ph.D) from Zesty South Indian Kitchen who loves to explore cuisines from all over the world. Whenever possible I try to to give an Indian touch to several of the world cuisine, and has weakness for freshly baked bread. All the recipes you see here are created by me and approved after taste-test by my family.


BangaloreBaker says
Swathi,
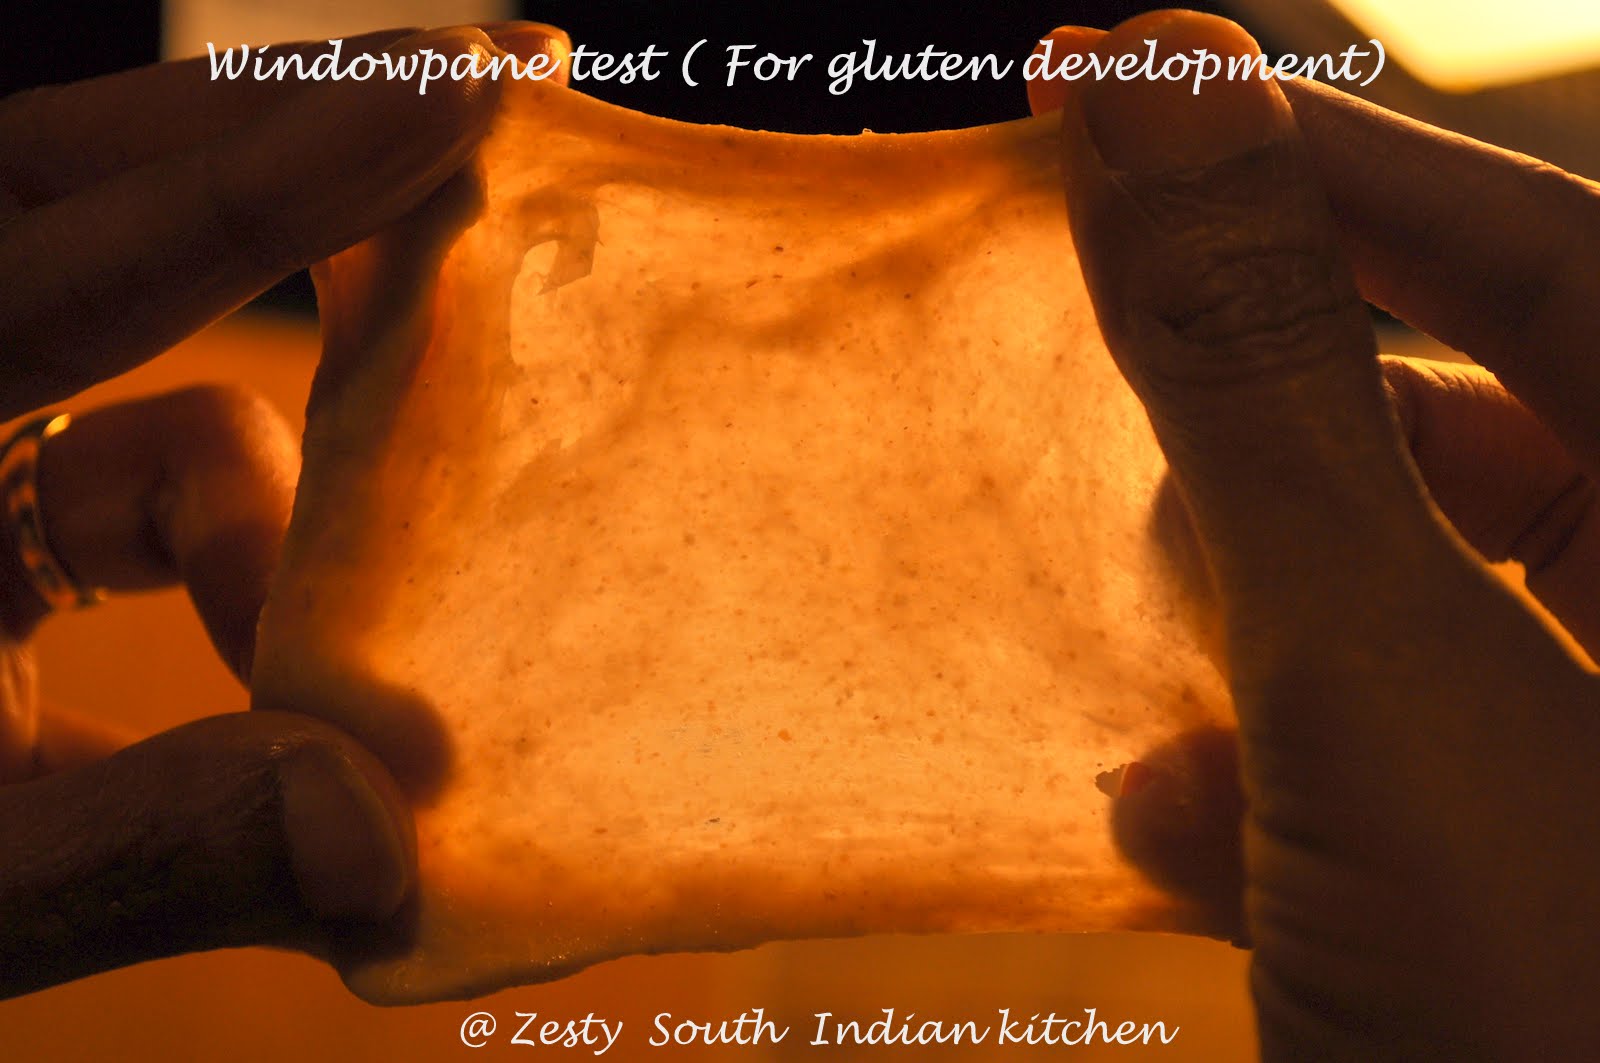
Thanks for the entry. Dough looks absolutely beautiful in the window pane test picture.
Ramya says
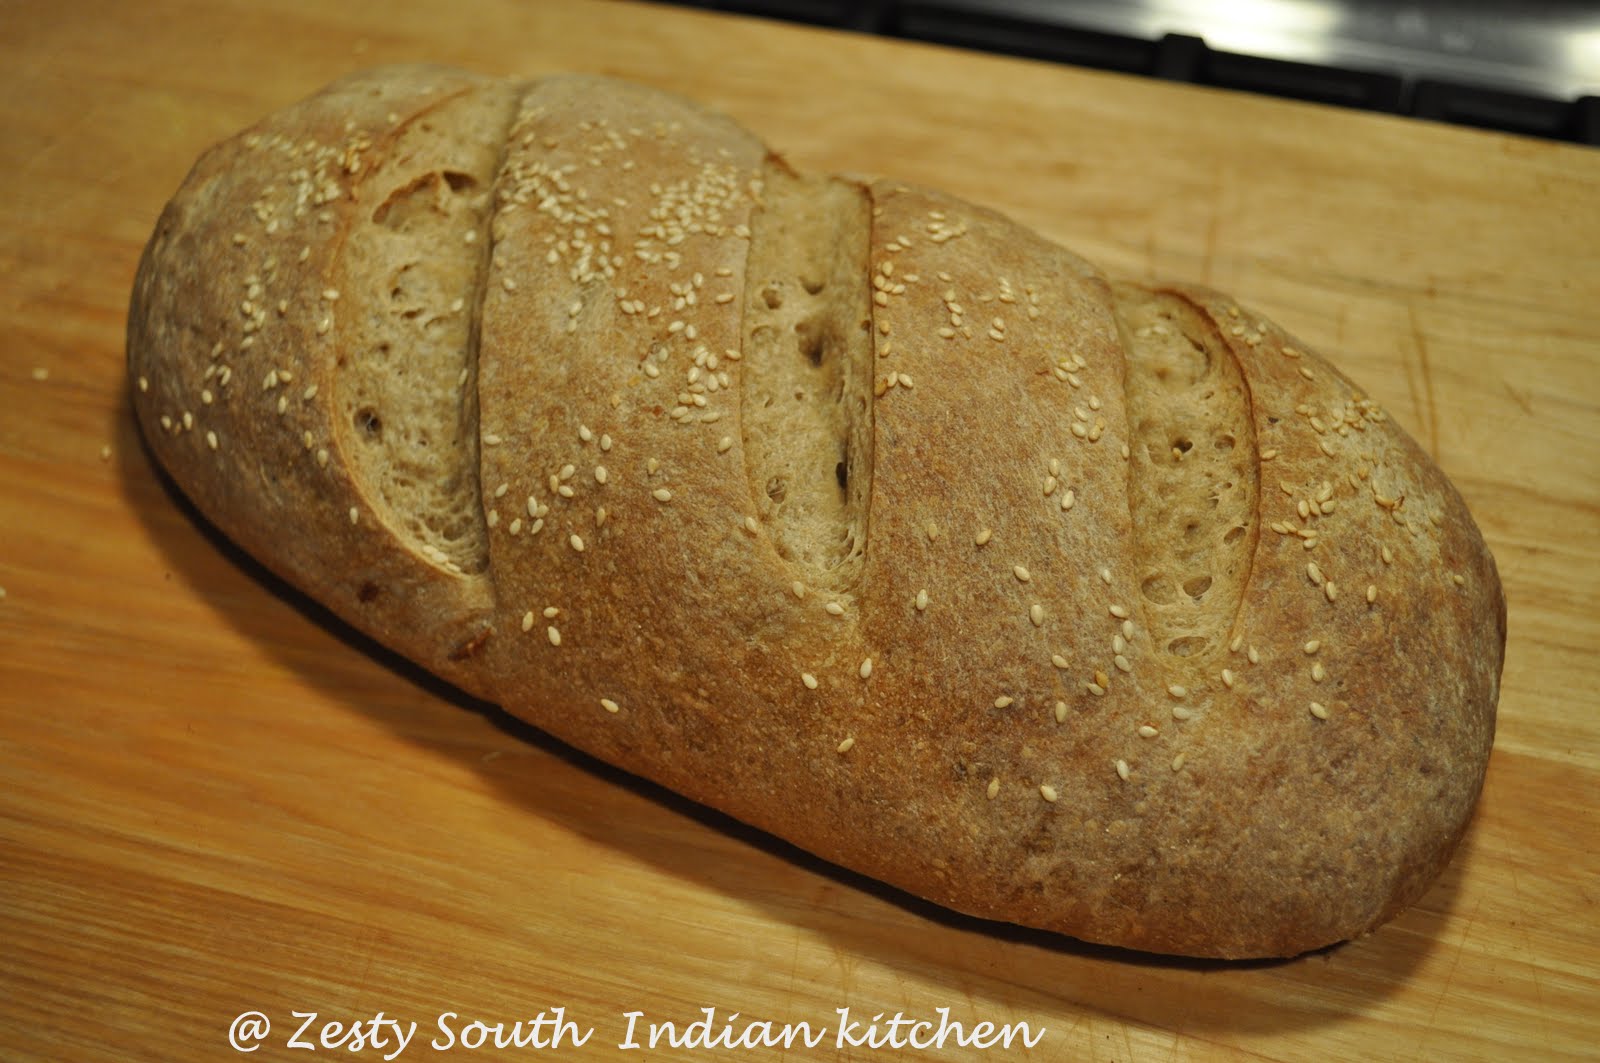
Love the bread..looks like the one we get from Deli:-)
You have written the recipe soo well that I feel like making it right away:-)
First time here and you have a great collection here…happy to follow u..
Priti says
wow looks so perfect ...
Malar Gandhi says
Wow, what a beautiful work...thanks for step by step pictures...awesome:)
savitha ramesh says
plz collect an award from my kitchen.its a treat for this wonderful garlic bread
Reeni says
I am so impressed that you made your own starter Swathi! Your bread is beautiful. Like a professional. Thanks for sharing your tips!
Angela says
Yum! I will keep this in mind when my new starter is ready next week.
Ellie (Almost Bourdain) says
What a detailed process for making sourdough. Thanks for sharing. A Lovely and informative post.
Ananda Rajashekar says
rye flour and roasted garlic this is heavenly!!
Yummy Team says
You have done a great job, Swathi..This bread loaf looks perfect! Thanks for the step pics..
archana says
What a good looking loaf, that you for the pictorial.
Sushma Mallya says
you bake bread so perfectly...must do it once and see...
Krithi's Kitchen says
Love ur step-by-step method...
Can empathize how you feel when you bake ur own bread... Keep Rocking!
http://krithiskitchen.blogspot.com
Pari says
another feather added to ur skills dear, that was indeed a great effort surely. The bread looks absolutely great.
FOODELICIOUS
G.Pavani says
great work dear..bread looks soft n yummy..
Jaisy James says
grt swathiee bread looks soft and yummy
Satya says
What a lovely bread.. you have an award waiting at my blog..
Rachu says
Wow.. what a bread! Looks like its out from an oven in a bakery.. perfect..
ammaandbaby.blogspot.com/
RAKS KITCHEN says
Wow,great effort,nice detailed stepwise post,bread looks great too!
PALATABLE says
Never tried sour dough yet but yours looks perfect!
Priya Sreeram says
swathi loved reading the post and this recipe is bookmarked !!
Abhilash Pillai says
oh amma! was a very big post... Was nice reading the concept of yeast.
The bread looks nice and the preparation and presentation was good.
I have never tried bread at home, rather I would prefer a shop one. I would love to try one on a weekend with pretty good arrangements, a fire extinguisher, a tablet for stomach control etc... as is first time 🙂
Just kidding...
Happy Cook says
Wowo the bread looks so so yummand perfect.
Miriam says
Swathi, you already know that you are my main inspiration for making all of my bread homemade, thanks again for a great recipe :). Miriam@Meatless Meals For Meat Eaters
Satya says
never baked sourdough bread ....urs inspire me alot
Super Yummy Recipes
michelangelo in the kitchen says
I love sourdough bread. Great with any soup or for bruschetta. Wonderful step-by-step demo to follow! Thanks for sharing!
Now Serving says
the bread is a VISUAL TREAT! I remember I've made friendship breads in the past which take as many days...
Premalatha Aravindhan says
Perfect Bake dear! drool worthy pics...luks gr8!
Hamaree Rasoi says
Bread loaf looks awesome. Wonderful preparation.
Deepa
Hamaree Rasoi
Sharmilee! :) says
Looks perfect for breakfast/dinner...nice recipe too
sinfullyspicy.com says
Perfect Swathi..Loved all the information that u shared with us.And the loaf looks gorgeous.
anupama says
Dear Swathi,
Good Morning!
Wonderful shots and yummy dishes!
I appreciate your efforts for the perfect for the perfect loaf!
Soooo tempting and mouth watering...
Enjoyed a lot.
Wishing you a beautiful day ahead,
Sasneham,
Anu
HGourmet Foodie says
Perfectly baked loaf of bread, I have not tried sour dough... I will give this recipe a try... Thanks for sharing it
Renata says
I love baking bread and have been wanting to try my hand at sourdough for like... forever....
Congrats on your successful loaf, it looks wonderful! There's nothing better than homemade bread!!
Pushpa says
Sourdough bread looks perfect,thanks for sharing.
Faith says
Sourdough is definitely one of my favorite types of bread. You did a fantastic job on this, Swathi!
Torviewtoronto says
healthy bread looks good
Swathi lovely steps
Viki's Kitchen says
You made the starter yeast..wow. awesome! Informative anecdote, I read it twice 🙂 True,the citation on marriage feast is apt for yeast. Perfectly baked bread. Nice post and a keeper.
Peggy says
That loaf is absolutely beautiful! Yeast is definitely a tricky thing, but once you master it (as you obviously are well on your way to!), it's such a great thing!
Manasi says
What a WONDERFUL loaf! U must be so pleased!
savitha ramesh says
I used to wonder,how swathi is baking all these beauties.....u rock dear and the garlic bread looks delicious
divya says
wow, looks perfect and so mouth watering.
Jisha says
WOW, PERFECT BREAD...LOOKS ABSOLUTELY DELICIOUS....LOVED IT..
Kairali sisters says
wow...ethu adipoli aytund to, i love sour dough breads...I have a lot of bread baking to do, been postponing it like anything...This looks absolutely delicious, Swathi...
Joanne says
I am still thoroughly afraid of sourdough but this just looks crazy delicious!
Shanavi says
U sure r a baker dear..
Priya says
Great efforts Swathi, am yet to try my hands for making sourdough starter, love that comparison..lolz..
Priya (Yallapantula) Mitharwal says
wow, that looks great swathi, love how you have compared yeast to people at wedding, lol 🙂