

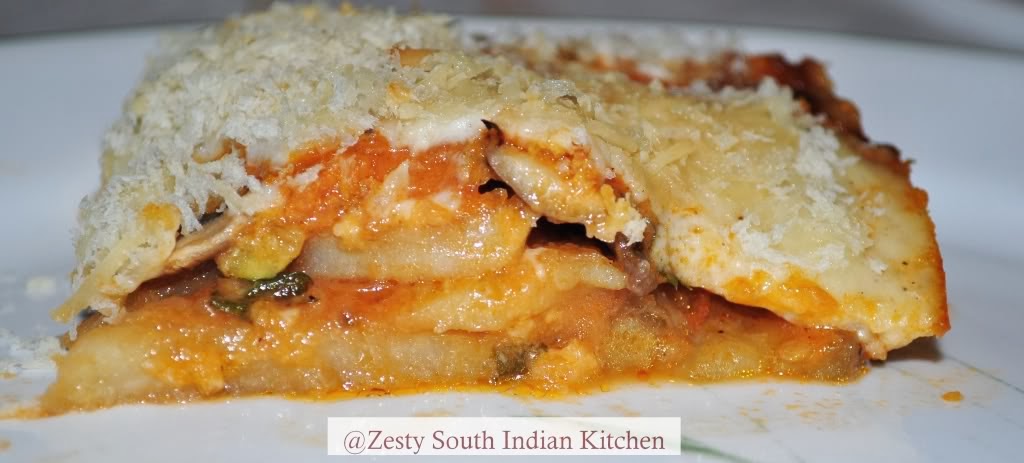
Moussaka is a classic Greek dish layered with eggplant, meat, cheese and béchamel sauce. It's a layered dish, something like a mix between shepherd's pie and lasagna if you want read about moussaka you can read from here and here.
What you need
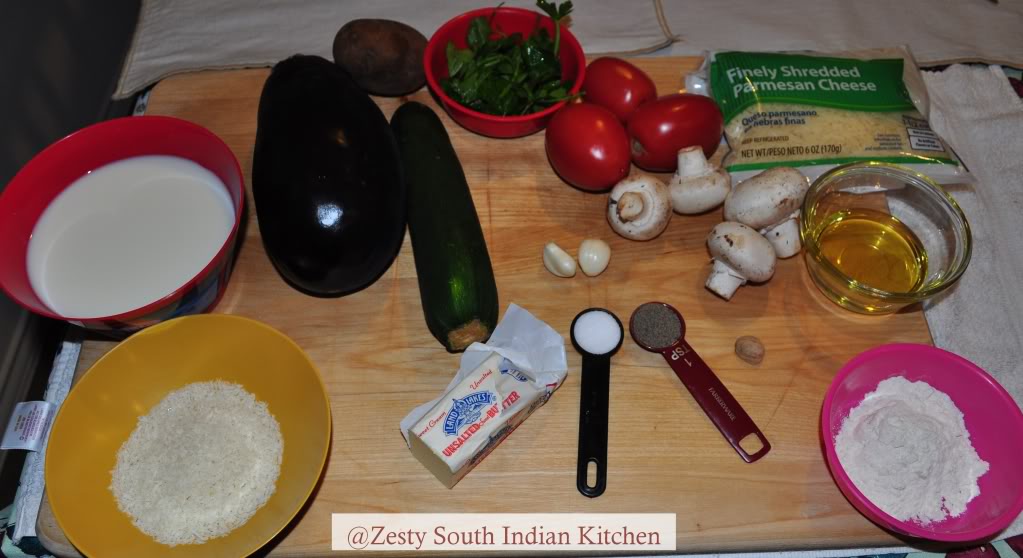
Eggplant: 1no
Zuchini: 1no
Potato: 1 no
Button Mushrooms: 4
Olive oil: ⅓ cup
Salt : 1 teaspoon
Panko Bread crumbs: ¼ cup
Grated Parmesan cheese: ¼ cup
For tomato sauce
Onion: 1no
Tomato: 3no
Garlic: 2 no
Ground cloves: ¼ teaspoon
Ground cinnamon: ¼ teaspoon
Marjoram: ¼ teaspoon
Ground black pepper: ½ teaspoon
Chopped Parsley: 2 tablespoon
Salt: ½ teaspoon or to taste
For Béchamel sauce
Milk: 11/2 cup
All purpose flour: 21/2 tablespoon
Butter: 2 tablespoon
Grated nutmeg: ¼ teaspoon
Salt: ¼ teaspoon
Black pepper: ¼ teaspoon
How I made
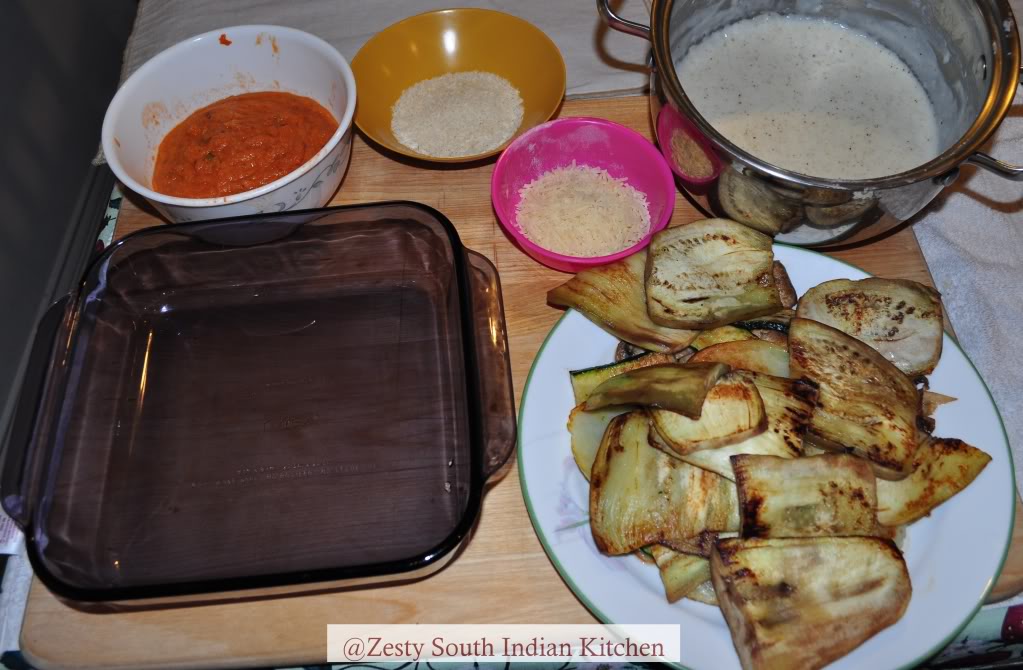
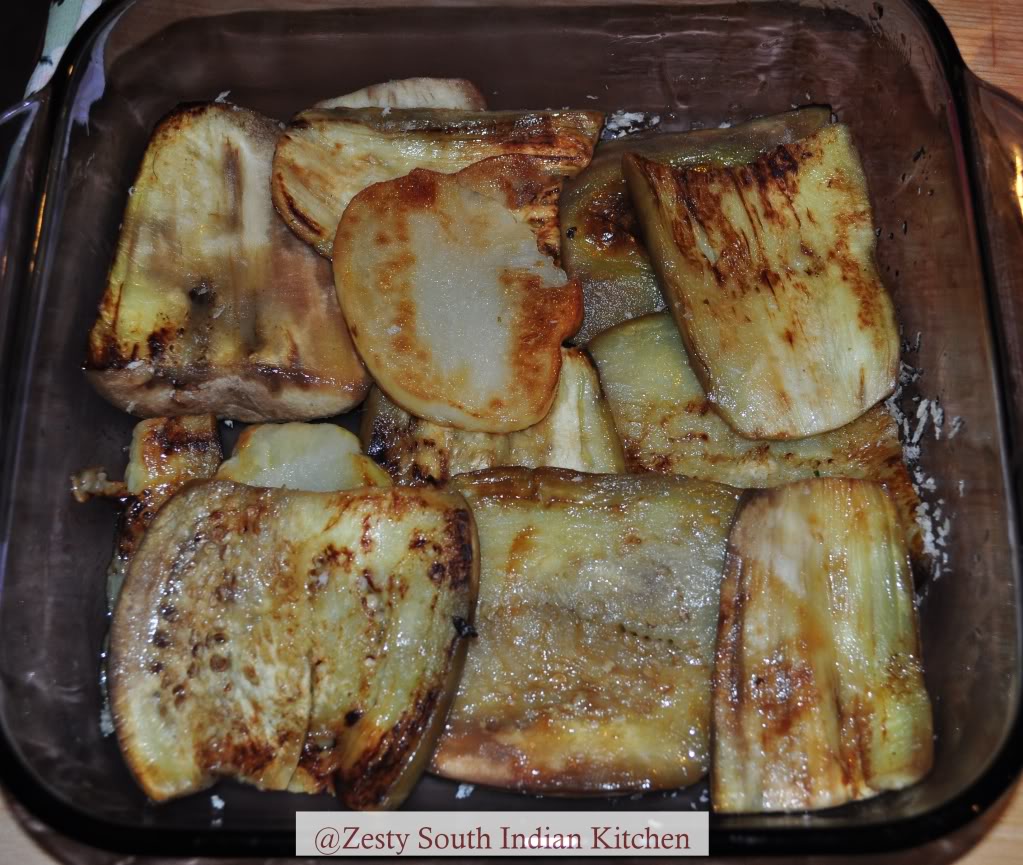
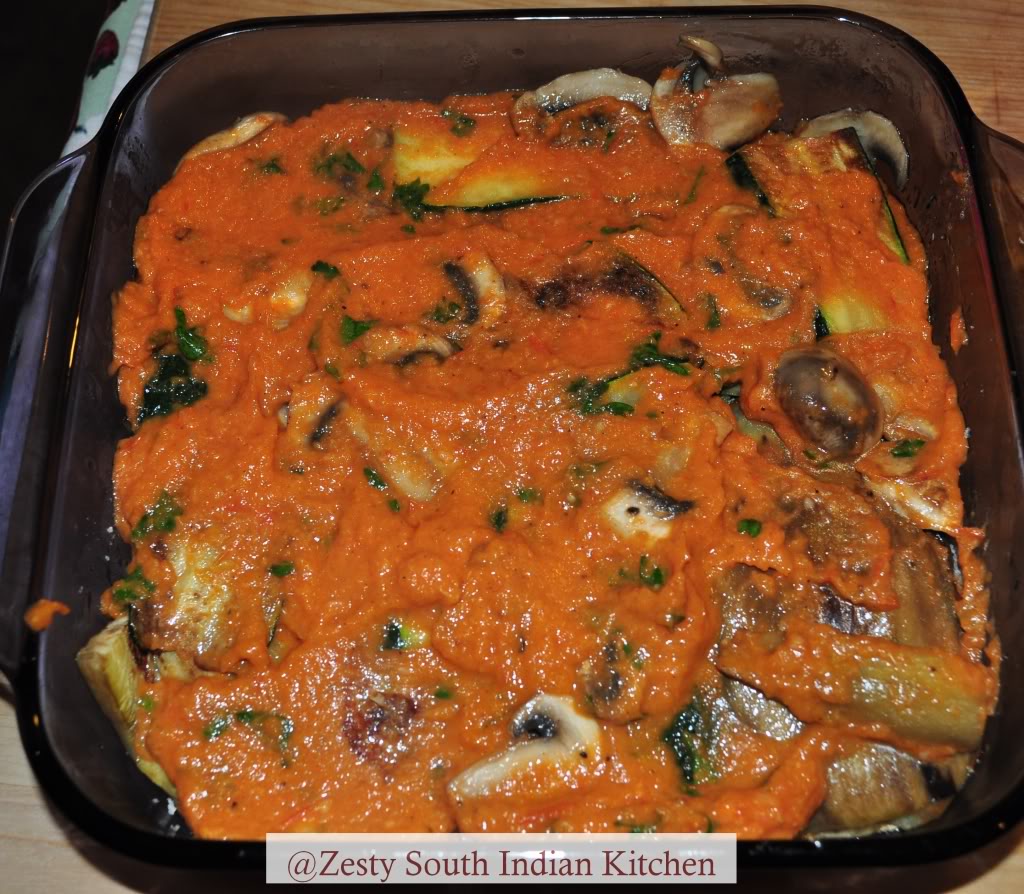
Then arrange second layer of eggplant, zucchini,potato and mushroom and add layer of tomato sauce.

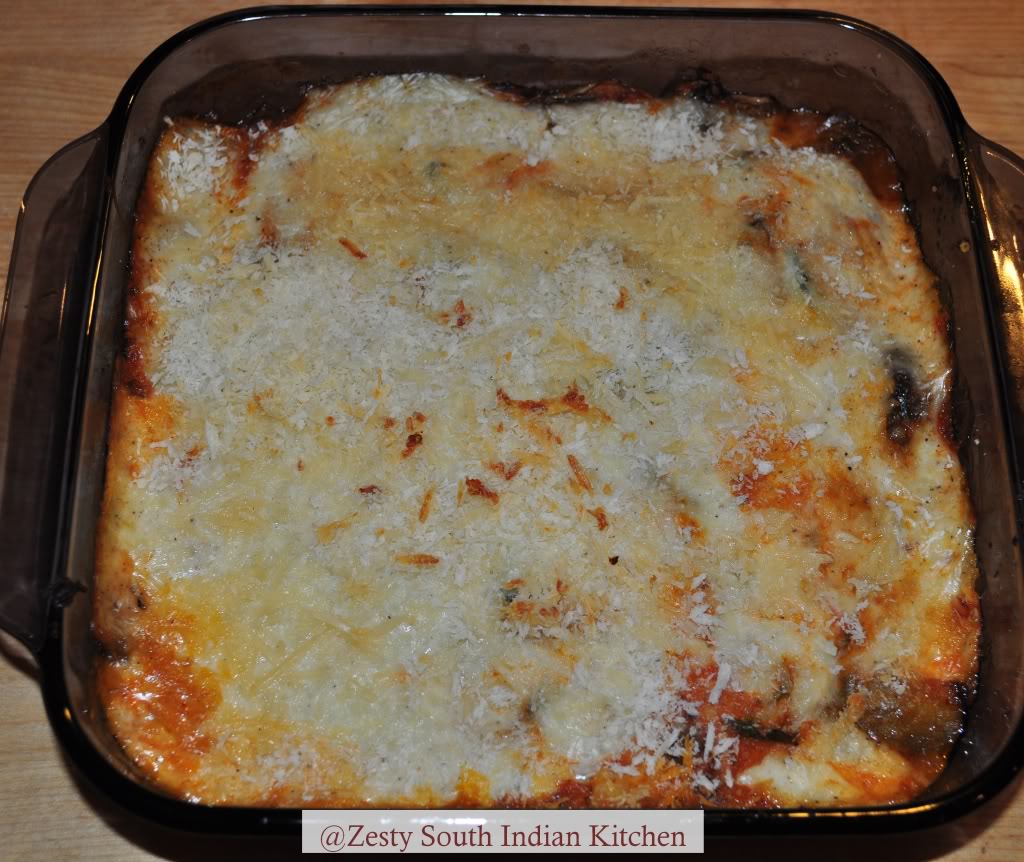
Finally add layer of béchamel sauce and sprinkle bread crumbs and parmesan cheese.

Bake it on 350degree Fahrenheit for 40 minutes or until cheese is melted and bubbly and crust is browned.
( Instead of two layer of tomato sauce you can use one layer of tomato sauce and other layer with only just béchamel sauce, or even you can add more cheese layer in between, I need tomato sauce in all my vegetables that why I spread tomato sauce in every layer of vegetables). Cool for 20 minutes and serve warm.


 Then rice and moong dal.
  After rice and moong dal cooked add jaggery water


