Wish all my blogger friends in U.S. a happy Independence Day. Here in US it a long weekend everybody enjoys by grilling, visiting friends and family. Day before yesterday it was heavy rain here. Sky was gloomy and raining intermittently for 2 days. I didn’t think I would see a clear sky on July 4th. We earlier had planned to have a short trip to beach. Finally we canceled it thinking that weather will not corporate. However, nature changed her mind and it is sunny, hot and beautiful on this Sunday morning.
I was earlier planning to make Strawberry, blueberry cake. However, it didn’t happen and finally I decide make a fruit skewer and a smoothie with strawberry, banana and blueberry for morning breakfast. Smoothie I made with 1 % milk. This is really creamy rich smoothie, if you wish you can dilute with water or milk to make slightly runny. Here goes the recipe.
What you need
For Fruit Skewer

Strawberry:9 nos
Banana: 1 no
Blue berries: ⅓ cup (I used fresh ones)
Sugar: 1 teaspoon
Skewer: 3no
For Strawberry Banana Blueberry Smoothie

Strawberry:9 nos
Banana: 1 no
Blue berries: ⅓ cup (I used fresh ones)
Milk: ⅓ cup (I used 1 % milk)
Sugar: 1 teaspoon
How I made
For Fruit Skewer.
Wash the skewer and Strawberry and blueberry with water and wipe with tissue. Peel banana and cut into ½ inch rounds. If you are planning to keep the skewer for long time, then sprinkle banana with lemon juice to prevent discoloration.
Arrange the skewer first with strawberry then banana followed by 3-5 blueberries. Sprinkle with sugar.
For Smoothie
Combine strawberries, milk, blueberries and sugar in a blender; cover and blend until creamy. Serve immediately. Enjoy
Preparation time: 5 minutes
Yield: 2 serving
Verdict: Yummy
Will you make it again: Yes I will


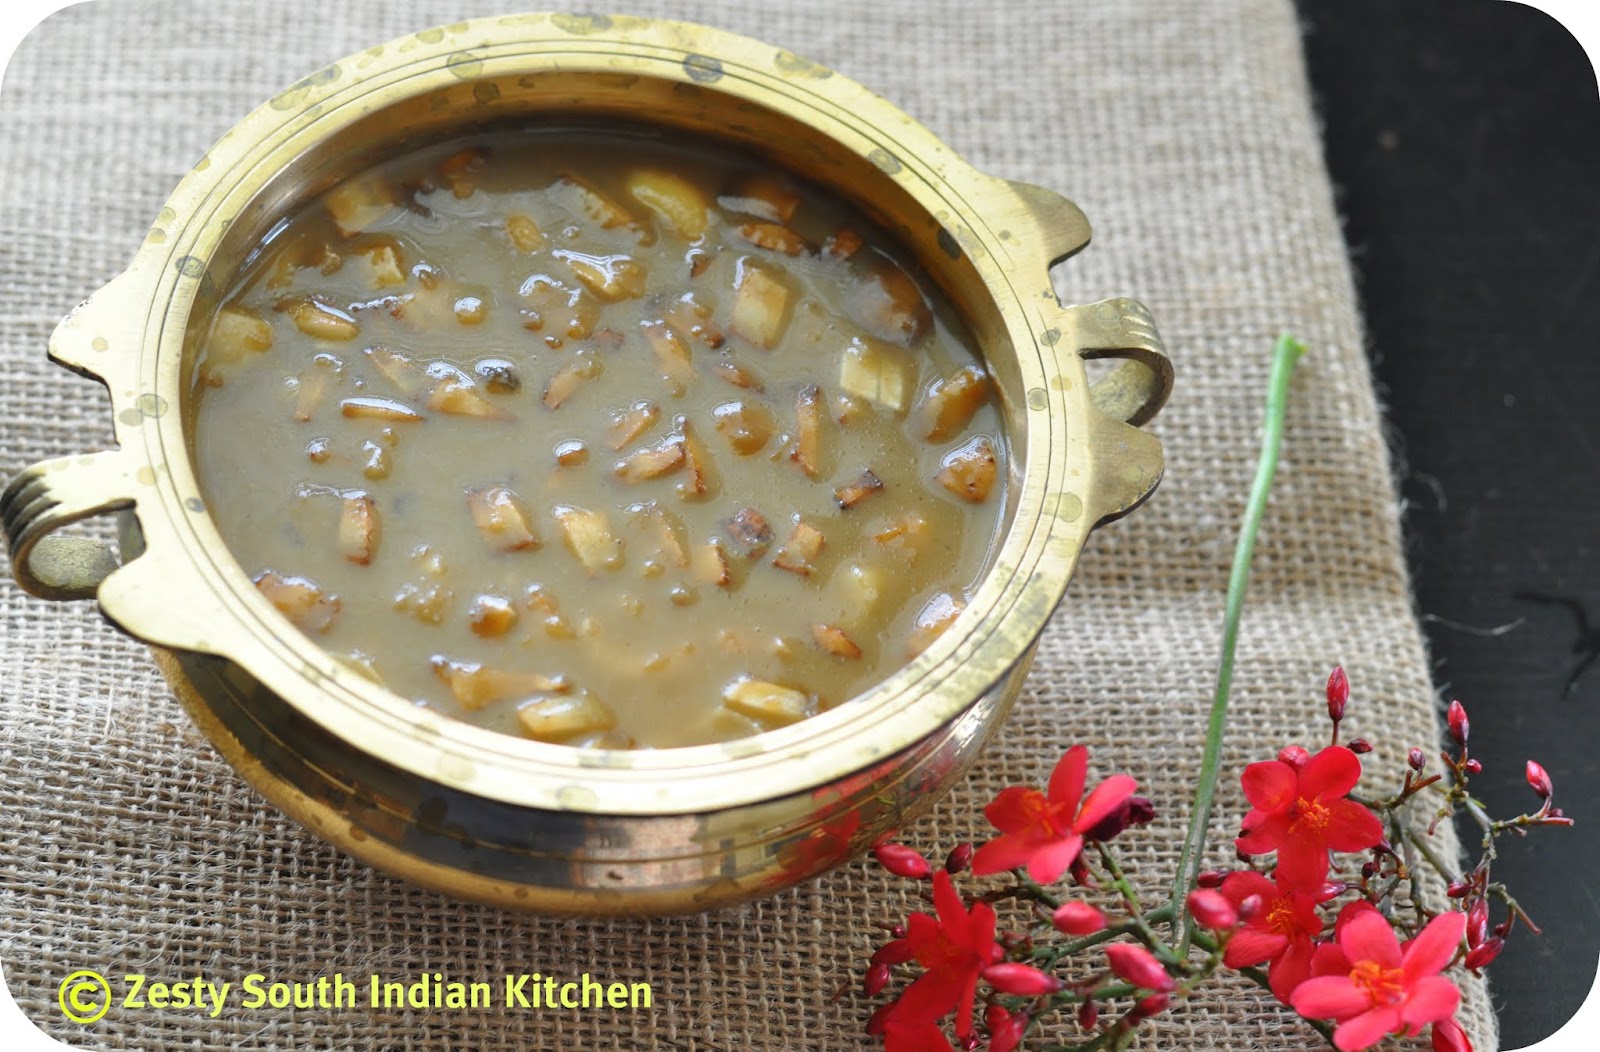
 Add 1 tablespoon of heavy cream, saffron and sugar and continue to simmer for another 15 minutes or it becomes thick.