


I am not a dal person, but my hubby is, and nowadays he eats chapathi/Roti for his dinner and I need to find some side dishes to go with it. My babies on the other hand are pasta lovers and don’t care about chapathi, but will take a bite if it is dosa, otherwise strict no from both. So I don’t have much choice in their case.
Usually when I make spicy potato curry/potato masala my hubby’s usual comment would be “please no potato it will increase my blood sugar”. Thus the first day I made spicy egg curry and the next day he made his famous cauliflower peas masala. On the third day the baton was handed over to me and I thought I can make dal. I know hubby won’t like my usual dal preparation, as he makes a very tasty one. I can’t beat him in normal dal curry, so after searching a lot, I found a recipe in Taradalal site, called darbari dal means those served in royal kitchens. It has unique preparation of adding yogurt/curd and cream to the recipe. Since I had some heavy cream left in the refrigerator, I decided to give it a shot.
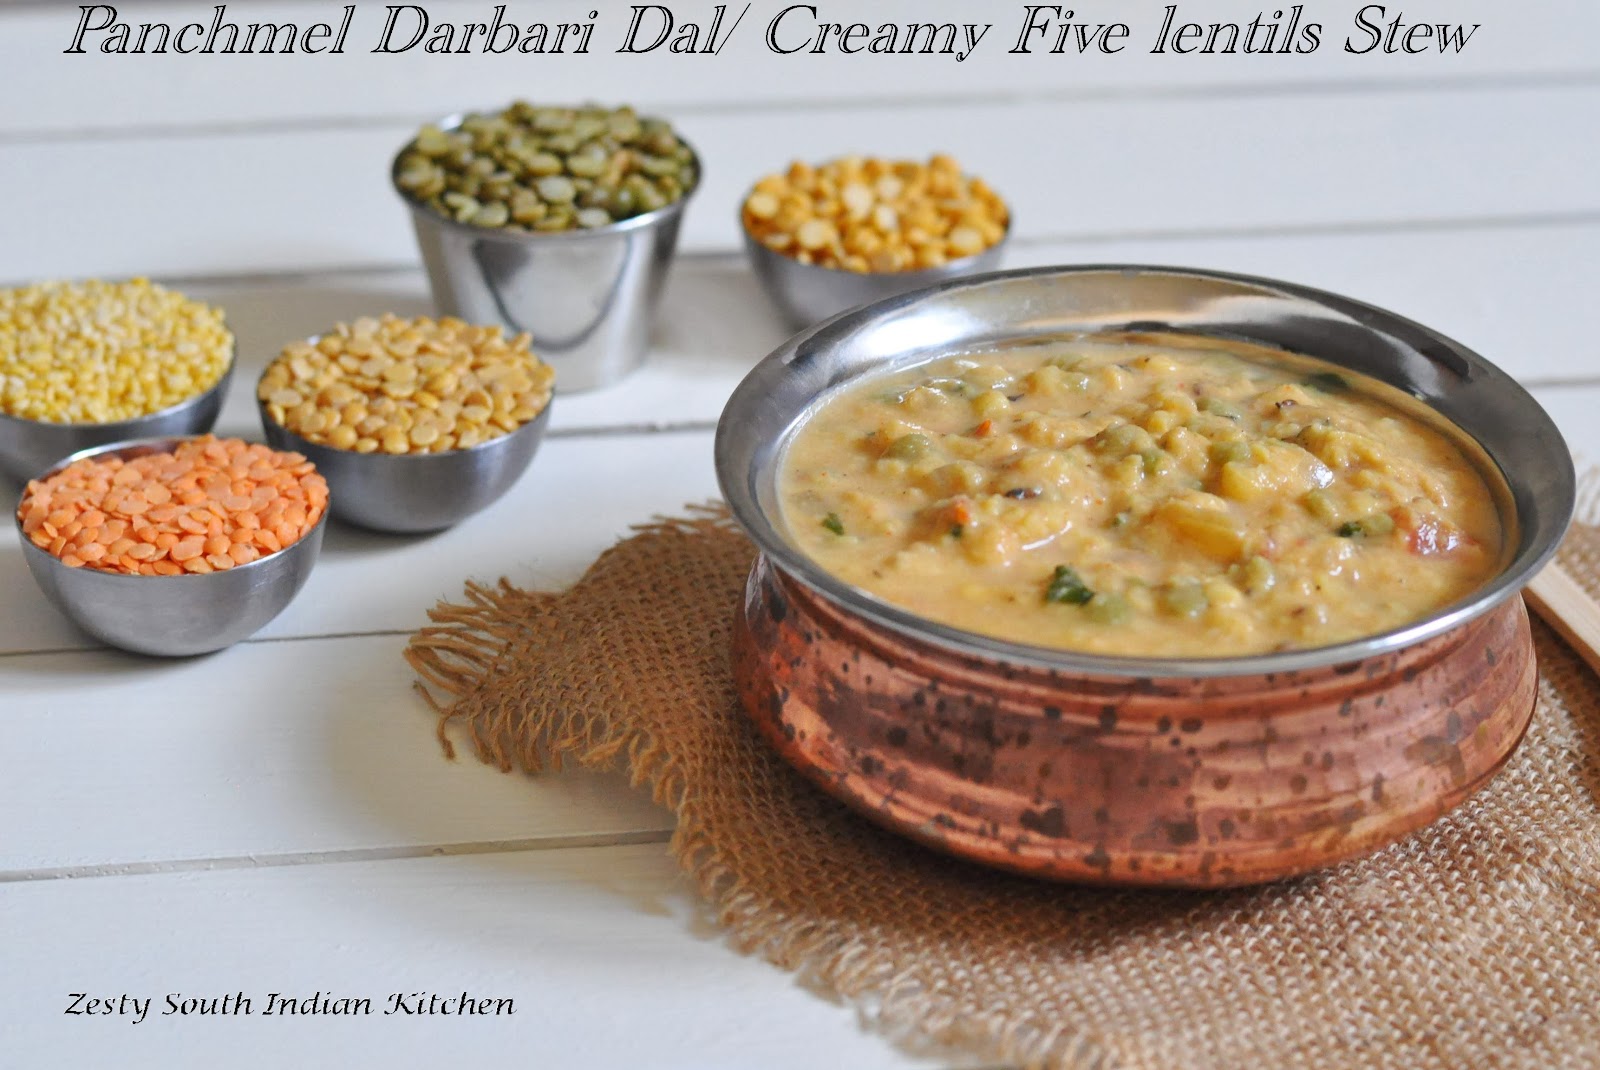
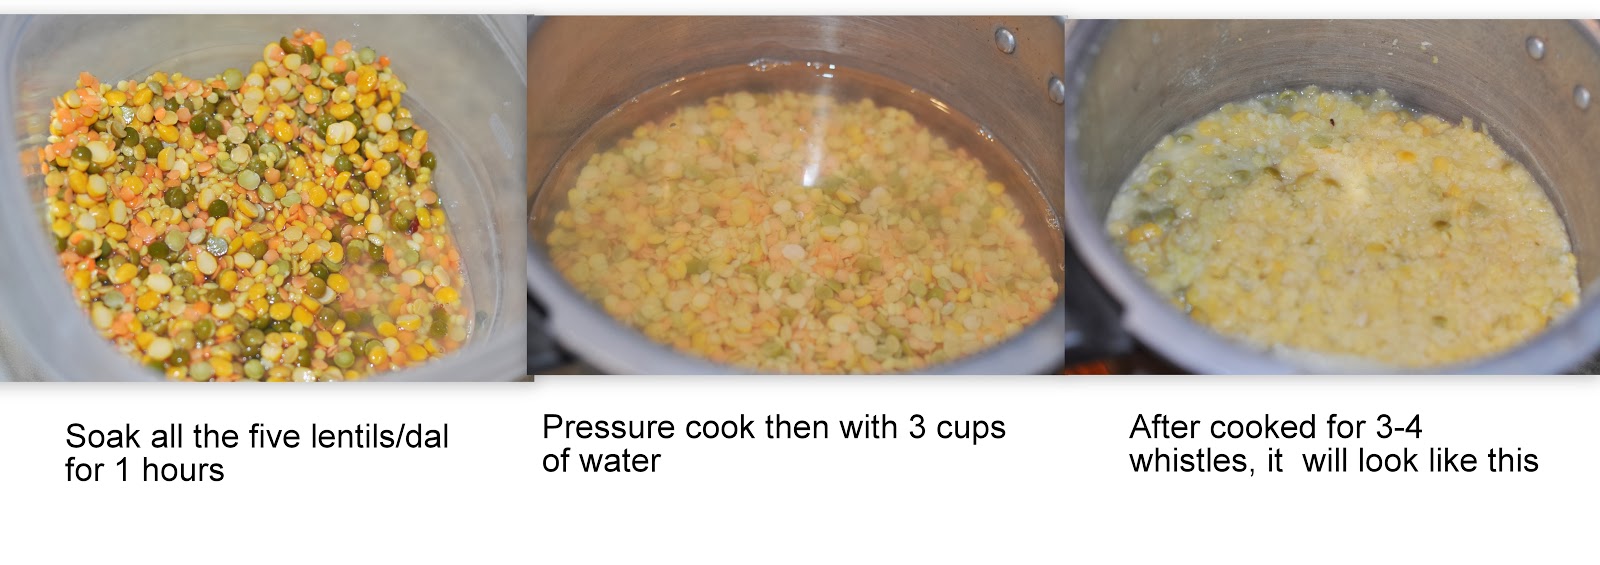
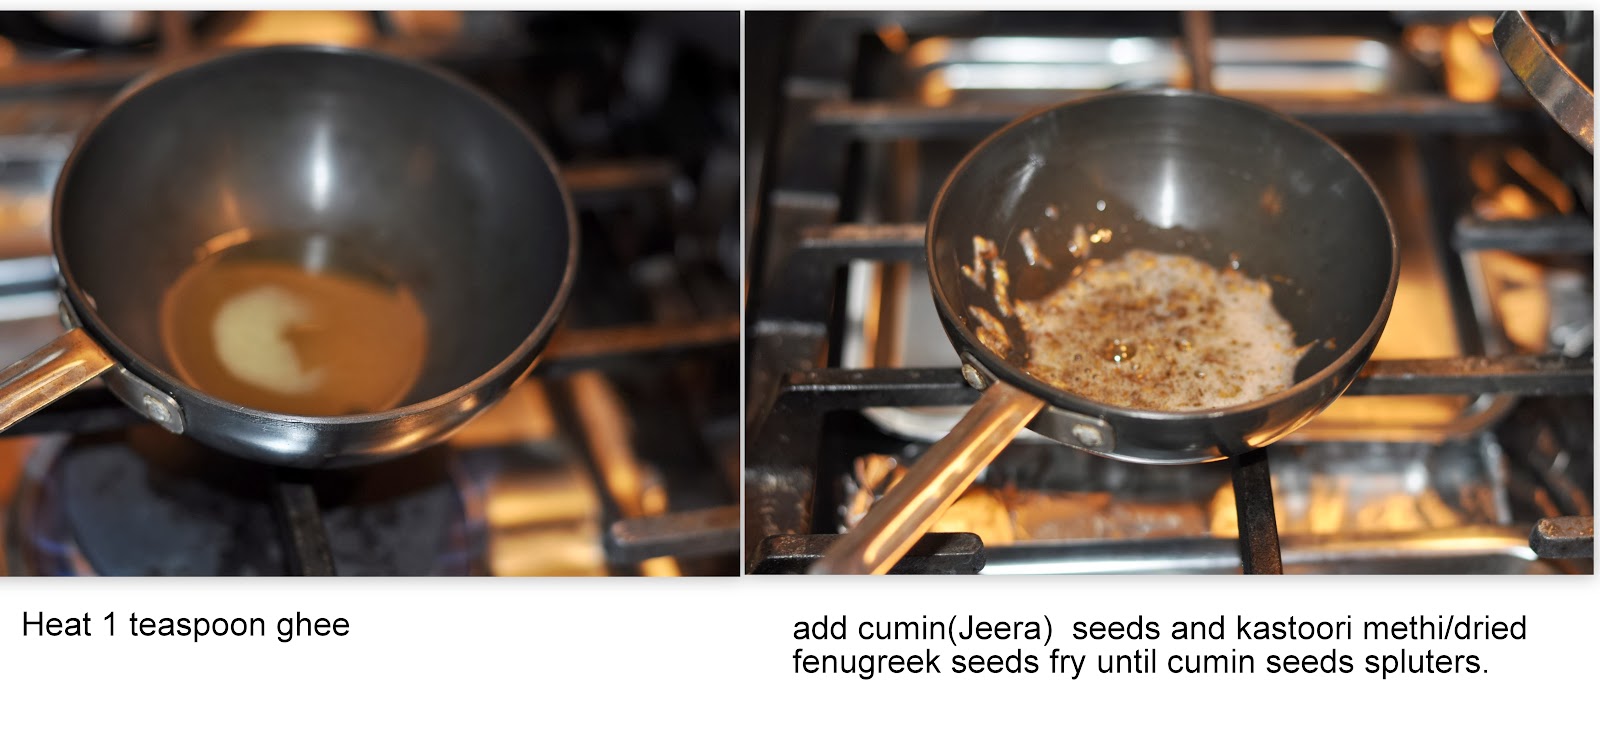
However she used only two different lentils, but I decided to make by adding five different types of dal. However I did follow her spices and addition of yogurt and cream in the recipe. Soaked dal/lentils for 1 hours and pressure cook until it is completely cook. About 3-4 whistles when dals are almost mashed consistency. I added onion to the recipes which is not the original one. This dish is cooked in ghee which makes it more tasty, however I reduced the amount of ghee; and made little change in final seasoning, I added whole cumin seeds and kastoori methi instead of just kastoori methi ( dried fenugreek leaves) in the original recipe. In spite of all these changes from my side, dal is delicious and perfect for roti/chapathi.
This dal has the tanginess from tomato and yogurt and creaminess from the heavy cream but still is not tangy enough to my taste buds, so the next time I will add some sour cream to make this dal, . Try it you are dal fan and want to try various different version of dal. You can also make this as stew, which would go well with any bread. You can also substitute cilantro with your favorite herbs. I will add this lentil preparation to my lentil recipe collections. My hunt for various dal recipes will continuous as long as I am going to make dal for dinner.
Here comes the recipe.


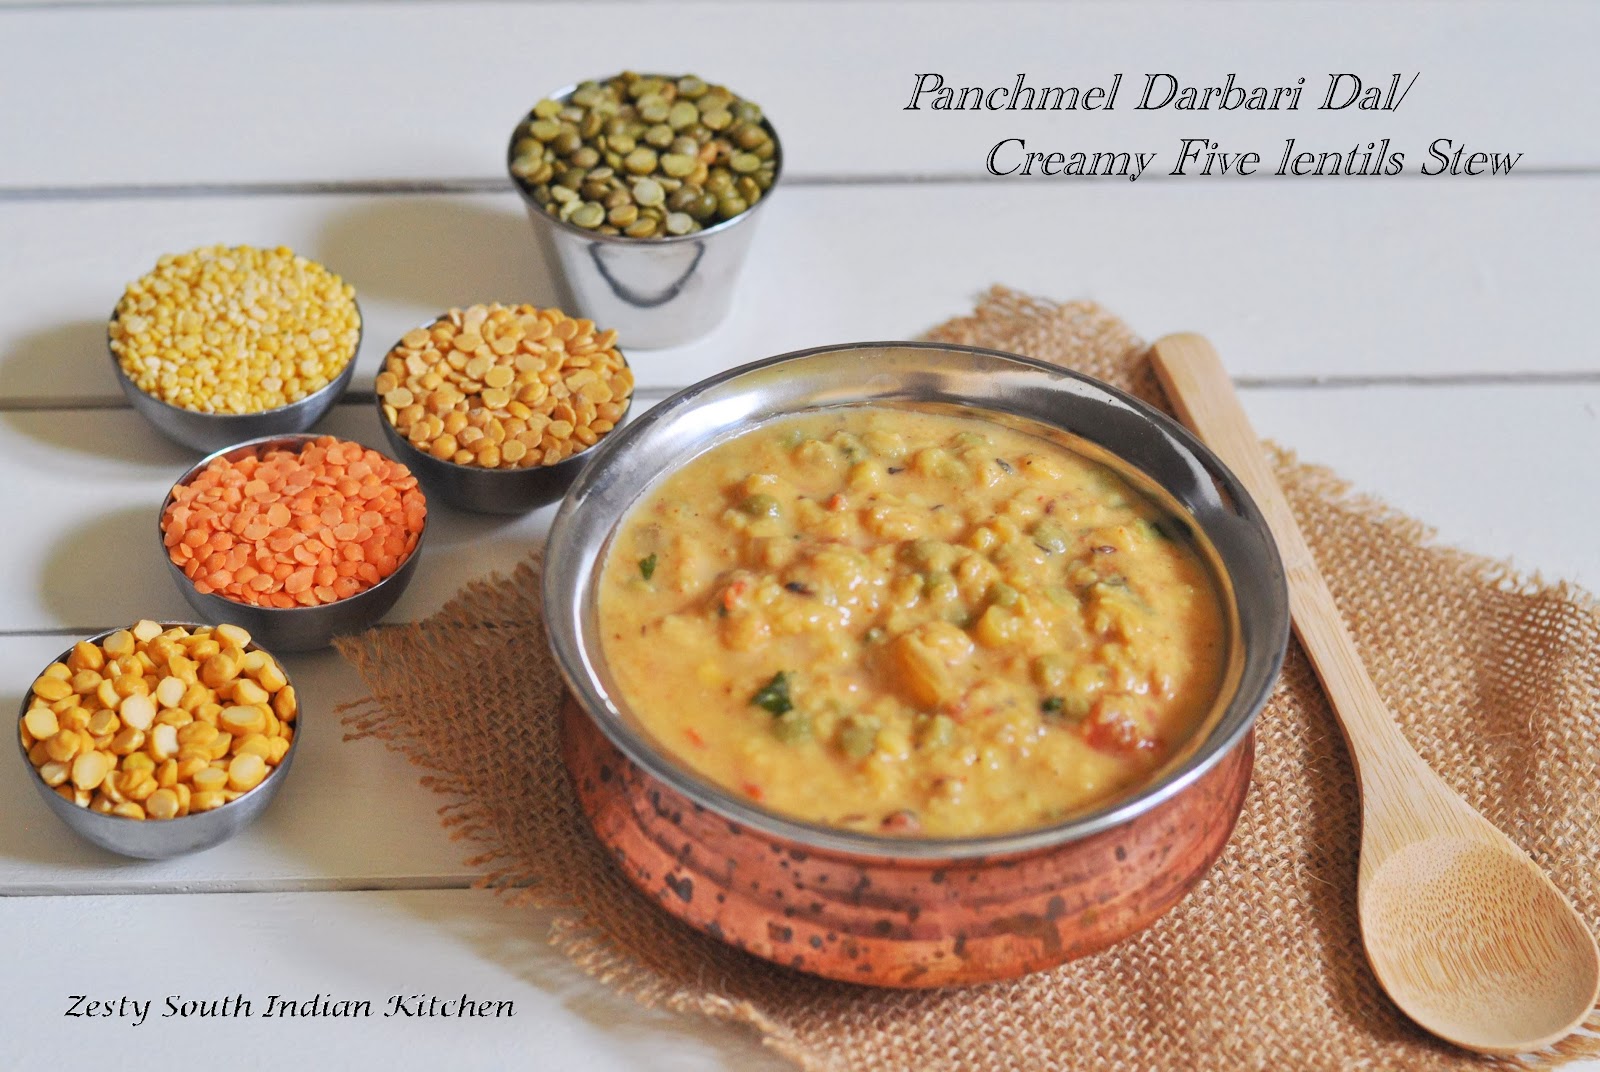

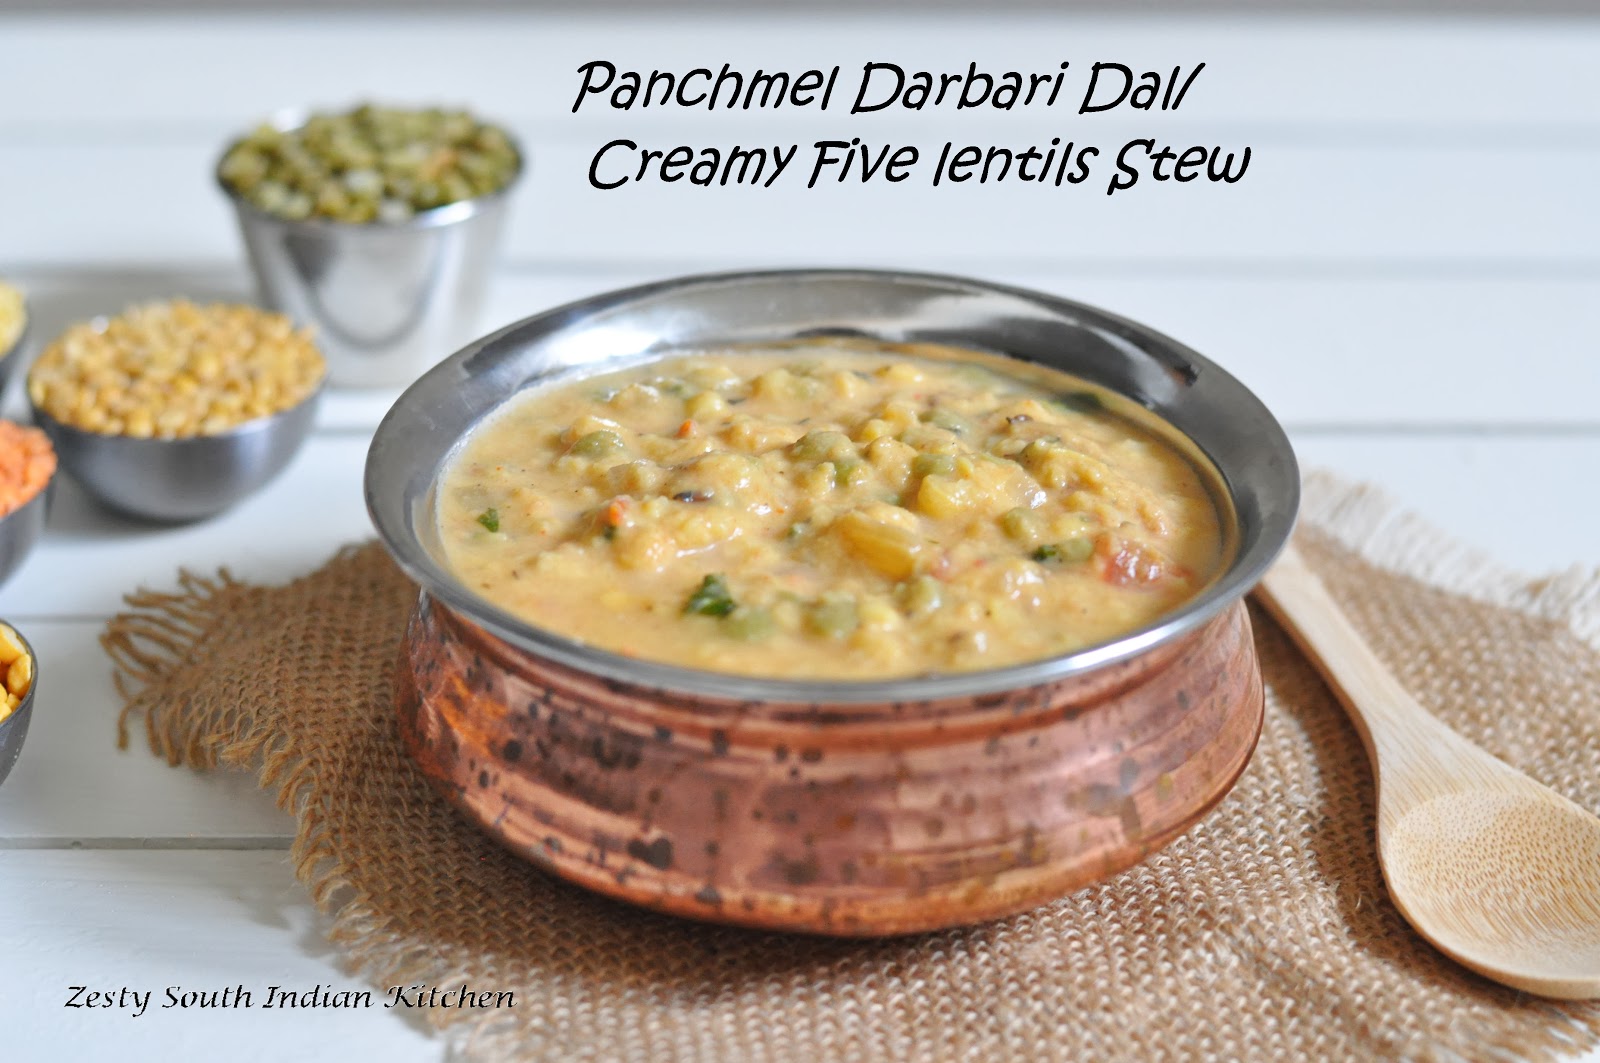


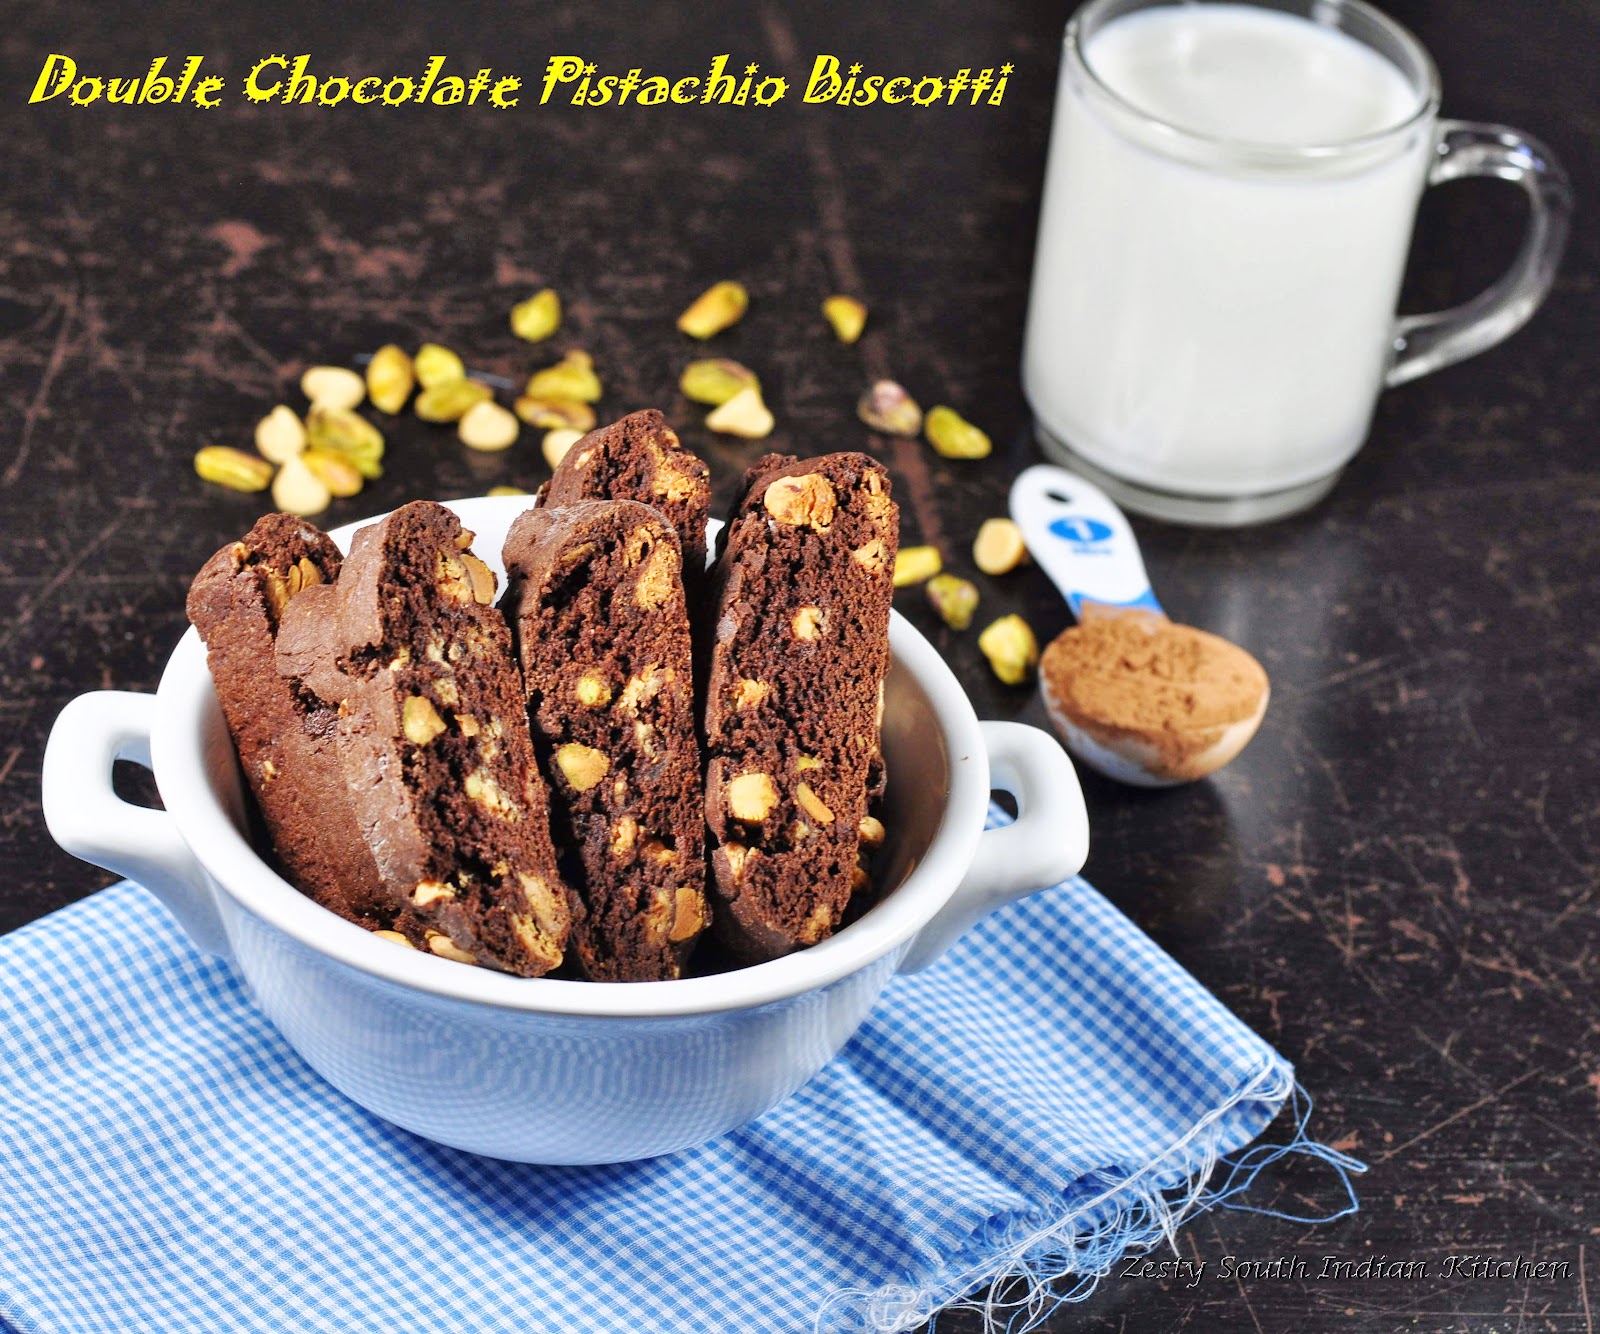
Panchmel Darbari Dal/ Creamy Five Lentil Stew
Protein rich creamy five lentil stew made with split chickpea, red lentils, green lentils, toor dal etc. Goes well with chapati or rice.
Servings: 4 servings
Calories: 257kcal
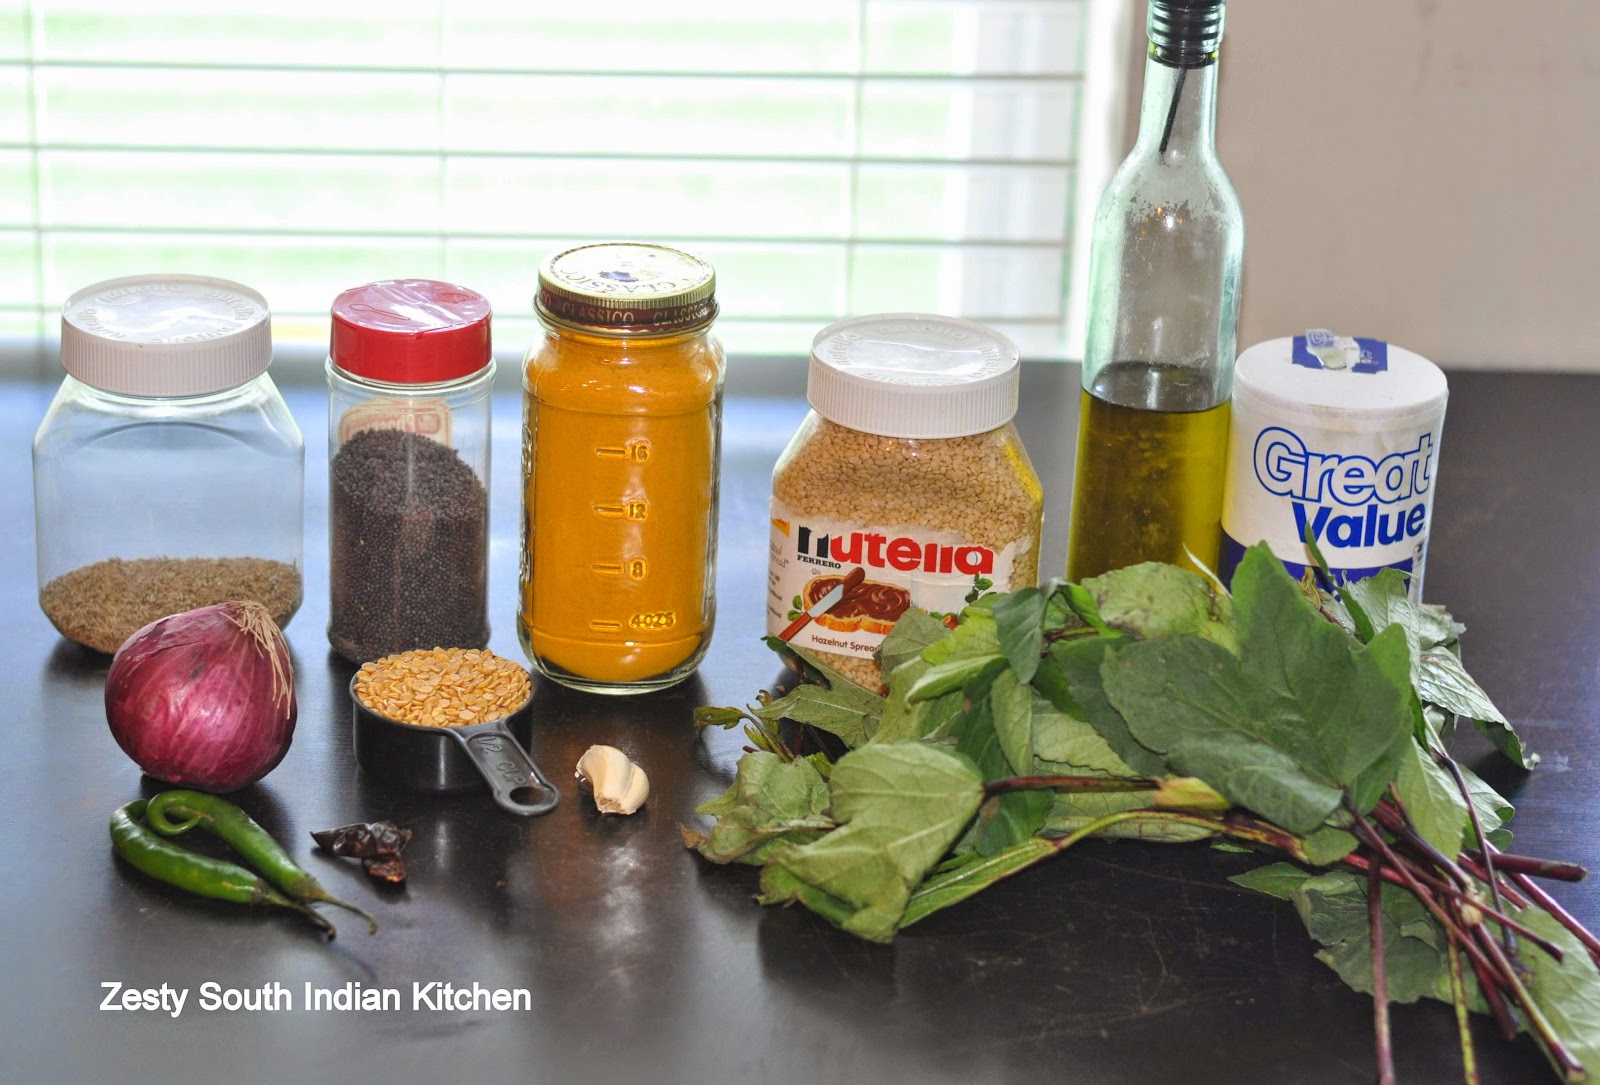
Ingredients
- 3 tablespoon toovar arhar dal/ sambar parippu/Thuvarapparup/Split pigeon peas
- 3 tablespoon masoor dal /Mysore parippu split red lentil
- 3 tablespoon chana dal/kadala parippu split chickpeas
- 3 tablespoon matar dal spilt green lentils
- 3 tablespoon moong chilka/cheruparippu/pasiparippu yellow split peas
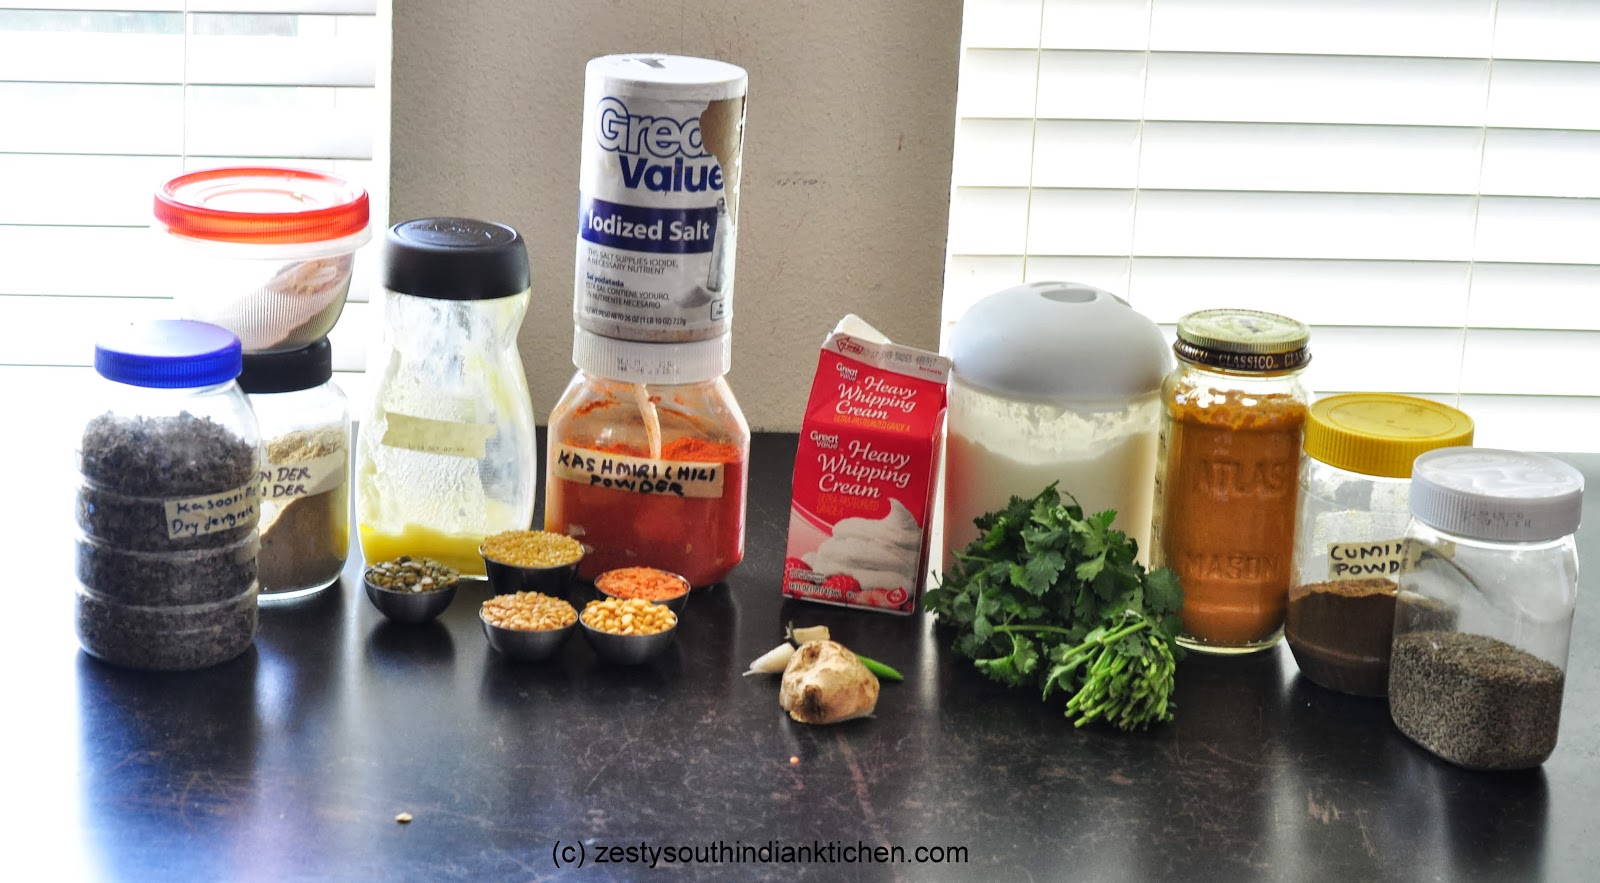
- 1 tablespoon+ 1 teaspoon ghee
- 2 teaspoon ginger-garlic adrak-lehsun paste
- 1 finely chopped green chili
- ¾ cup chopped onion
- 1 cup chopped tomatoes
- 1 teaspoon garam masala
- ¾ teaspoon coriander dhania powder
- ½ teaspoon cumin seeds jeera powder
- ¾ teaspoon chili powder I used Kashmiri chili powder
- ¾ teaspoon salt or to taste
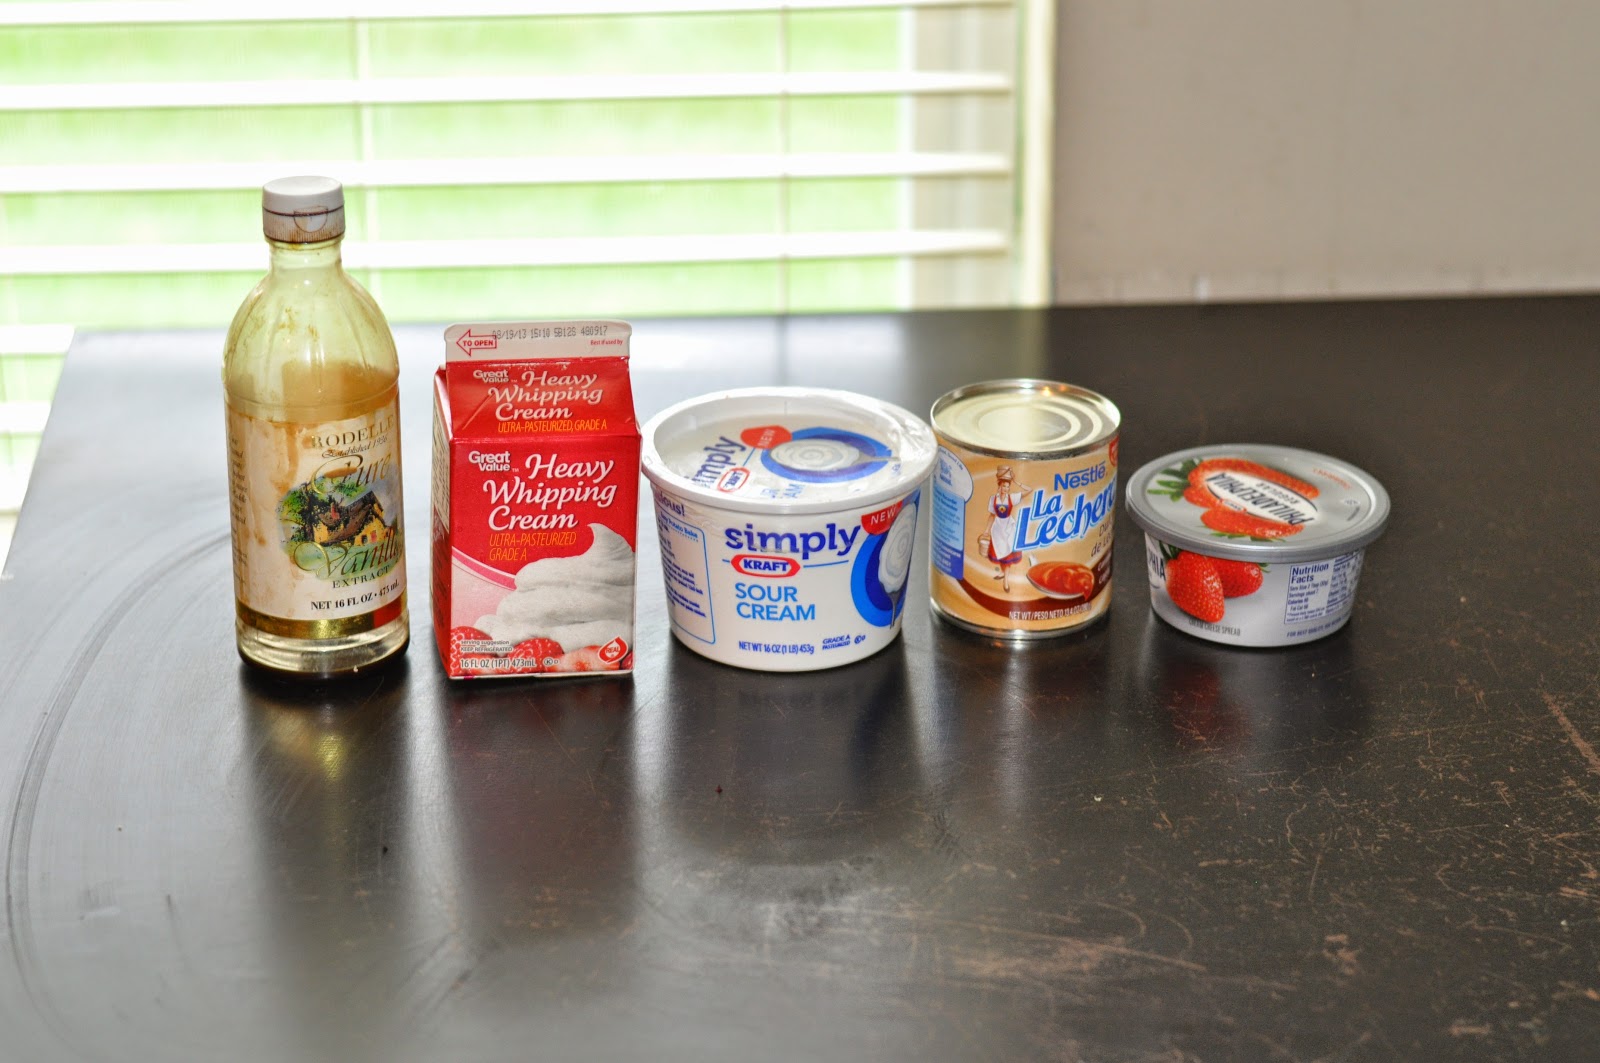
- 3 tablespoon Yogurt/curd dahi
- 3 tablespoon Heavy whipping cream/ fresh cream
- a pinch sugar
- 2 tablespoon finely chopped coriander leaves/Cilantro dhania
- 1 teaspoon dried fenugreek leaves kasuri methi , lightly roasted and crushed
- ½ teaspoon cumin seeds
Instructions
- Clean, wash and soak all dals/ lentils for 1 hour.
- Add 2 cups of water and salt and pressure cook for 3 to 4 whistles till the dal are cooked.
- Allow the steam to escape before opening the lid. Keep aside.
- Heat the 1 tablespoon of ghee in a deep pan and add chopped onion and green chilies and fry 4 minutes and then add the ginger-garlic paste and sauté for 2 more minutes.
- Add the tomatoes, garam masala, coriander powder, cumin seeds powder, chili powder and salt and sauté till the ghee leaves the masala.
- Then add boiled dal, yogurt, cream, sugar and coriander leaves and mix well. Bring it to simmer not boil as cream is added.
- For the tempering, heat 1 teaspoon of ghee in a pan and add the dried fenugreek leaves and cumin seeds and sauté for 30 seconds.
- Pour this tempering over the dal and mix well.
- Serve immediately.
- Enjoy with roti or bread of your choice.
Notes
This recipe is inspired from Taradalal site, darbari dal
Nutrition
Calories: 257kcal | Carbohydrates: 39g | Protein: 13g | Fat: 6g | Saturated Fat: 3g | Polyunsaturated Fat: 1g | Monounsaturated Fat: 1g | Cholesterol: 15mg | Sodium: 590mg | Potassium: 502mg | Fiber: 14g | Sugar: 6g | Vitamin A: 401IU | Vitamin C: 11mg | Calcium: 108mg | Iron: 4mg
Tried this recipe?Mention @nidhinikhil or tag #zestysouthindiankitchenrecipes!
Pin it for later


